Hey! Welcome back to the Ready for Residency Series – This is Part IV and it’s all about staying organized during residency. This was supposed to be a 3 part series, but there’s just so much to say and more that I want to help you all with! If you haven’t already, check out Part I which is about things to do before starting residency Part II about orientation month and tips on making good decisions for all that happens during that time, and Part III about being successful on rotations as a pharmacy resident.
Being organized during residency is a must. There is just so much going on at once to stay on top of and it can feel like you’re constantly putting out fires and organizing helped me so much! Not only are there obligations in residency but also in your personal life. Huge disclaimer, that at baseline, I’m a pretty organized person, but residency pushed it to a different level. Fortunately, my life at this time doesn’t require this level of organization anymore 🙂
My organization during residency was broken down into essentially two parts: Long-term Monthly Planning & Short-Term Daily/Weekly Planning. I use my month-long plans (and timelines) to help inform what my week should look like. My main methods of keeping it all together were Microsoft Outlook, a Microsoft Word Calendar, and my notebook – they all work together. I also relied heavily on preparing for my week on Sundays to help the week be less hectic.
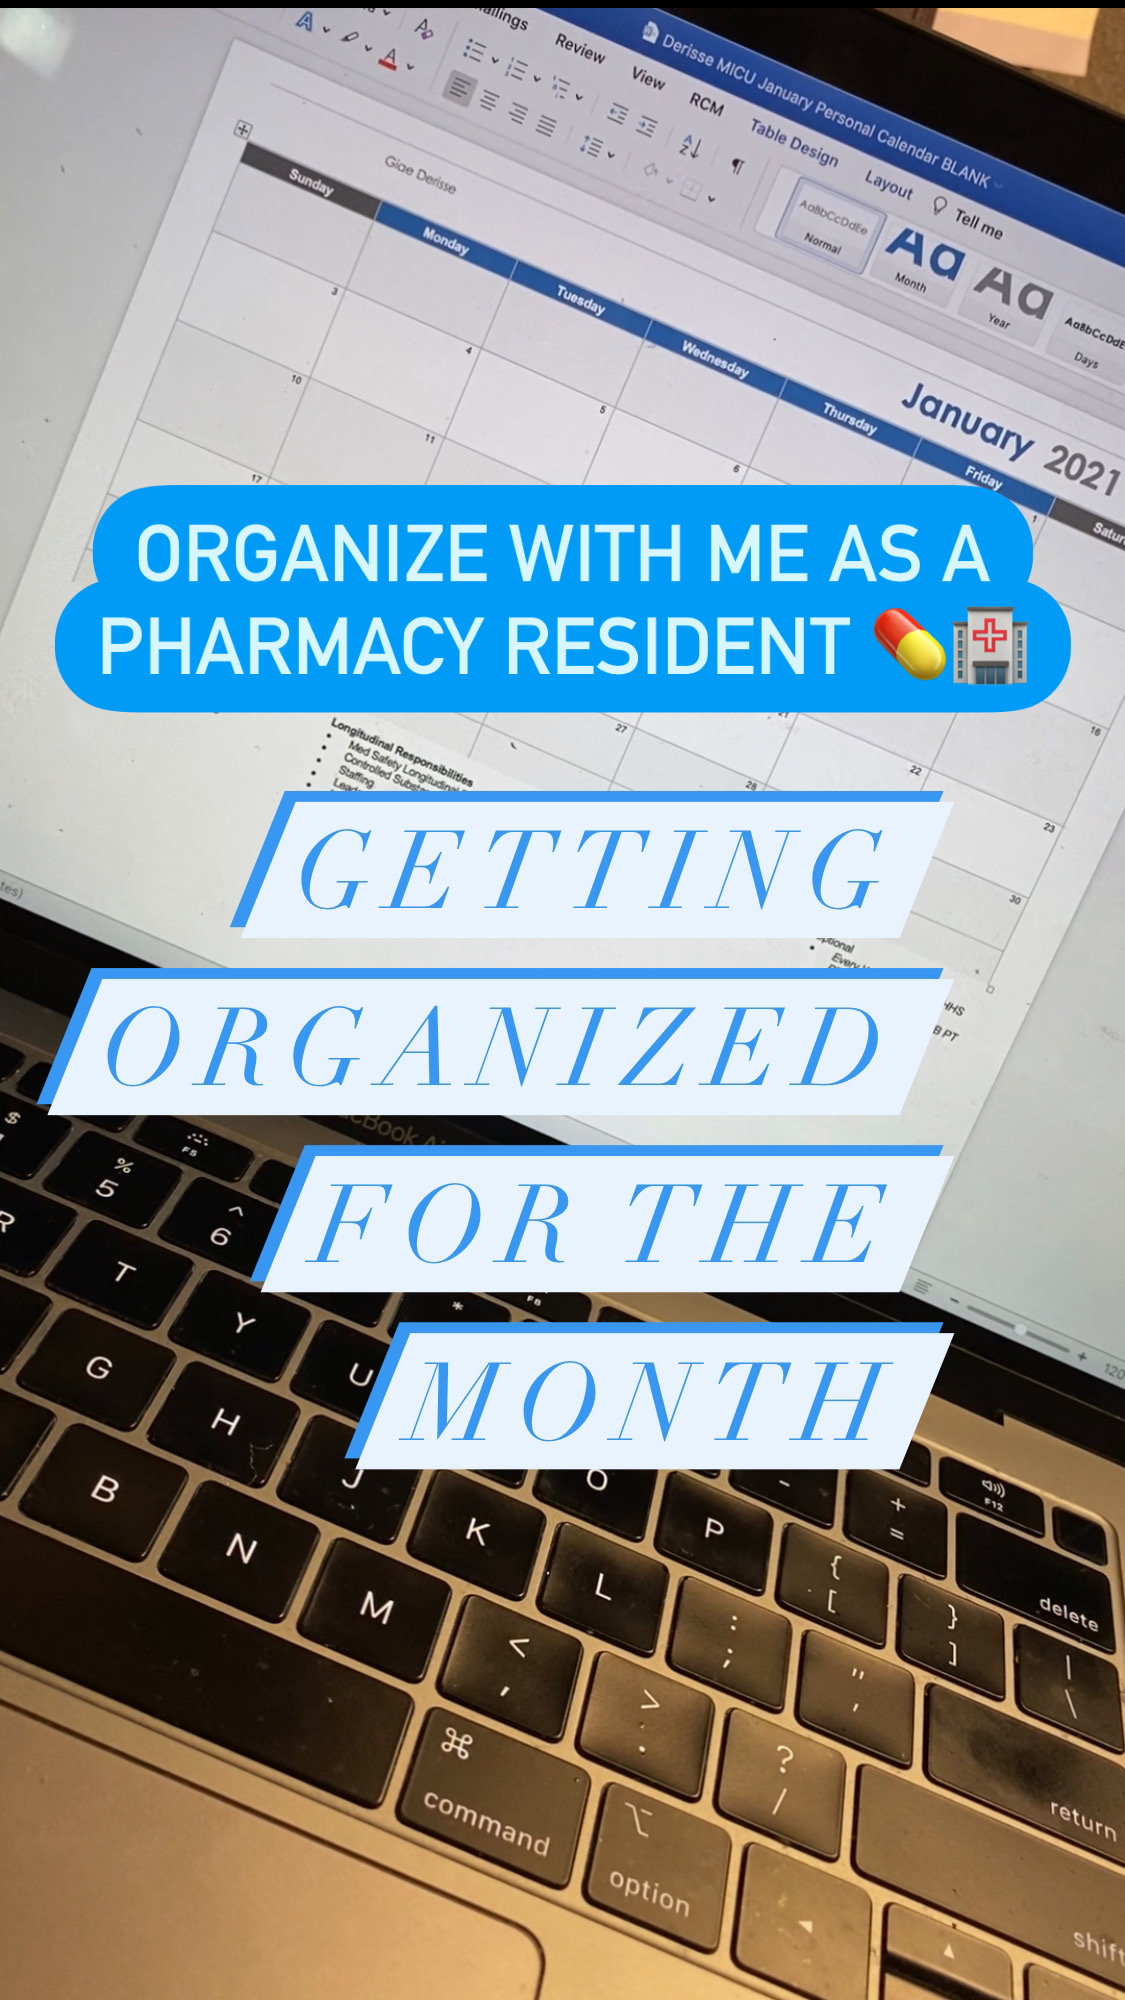
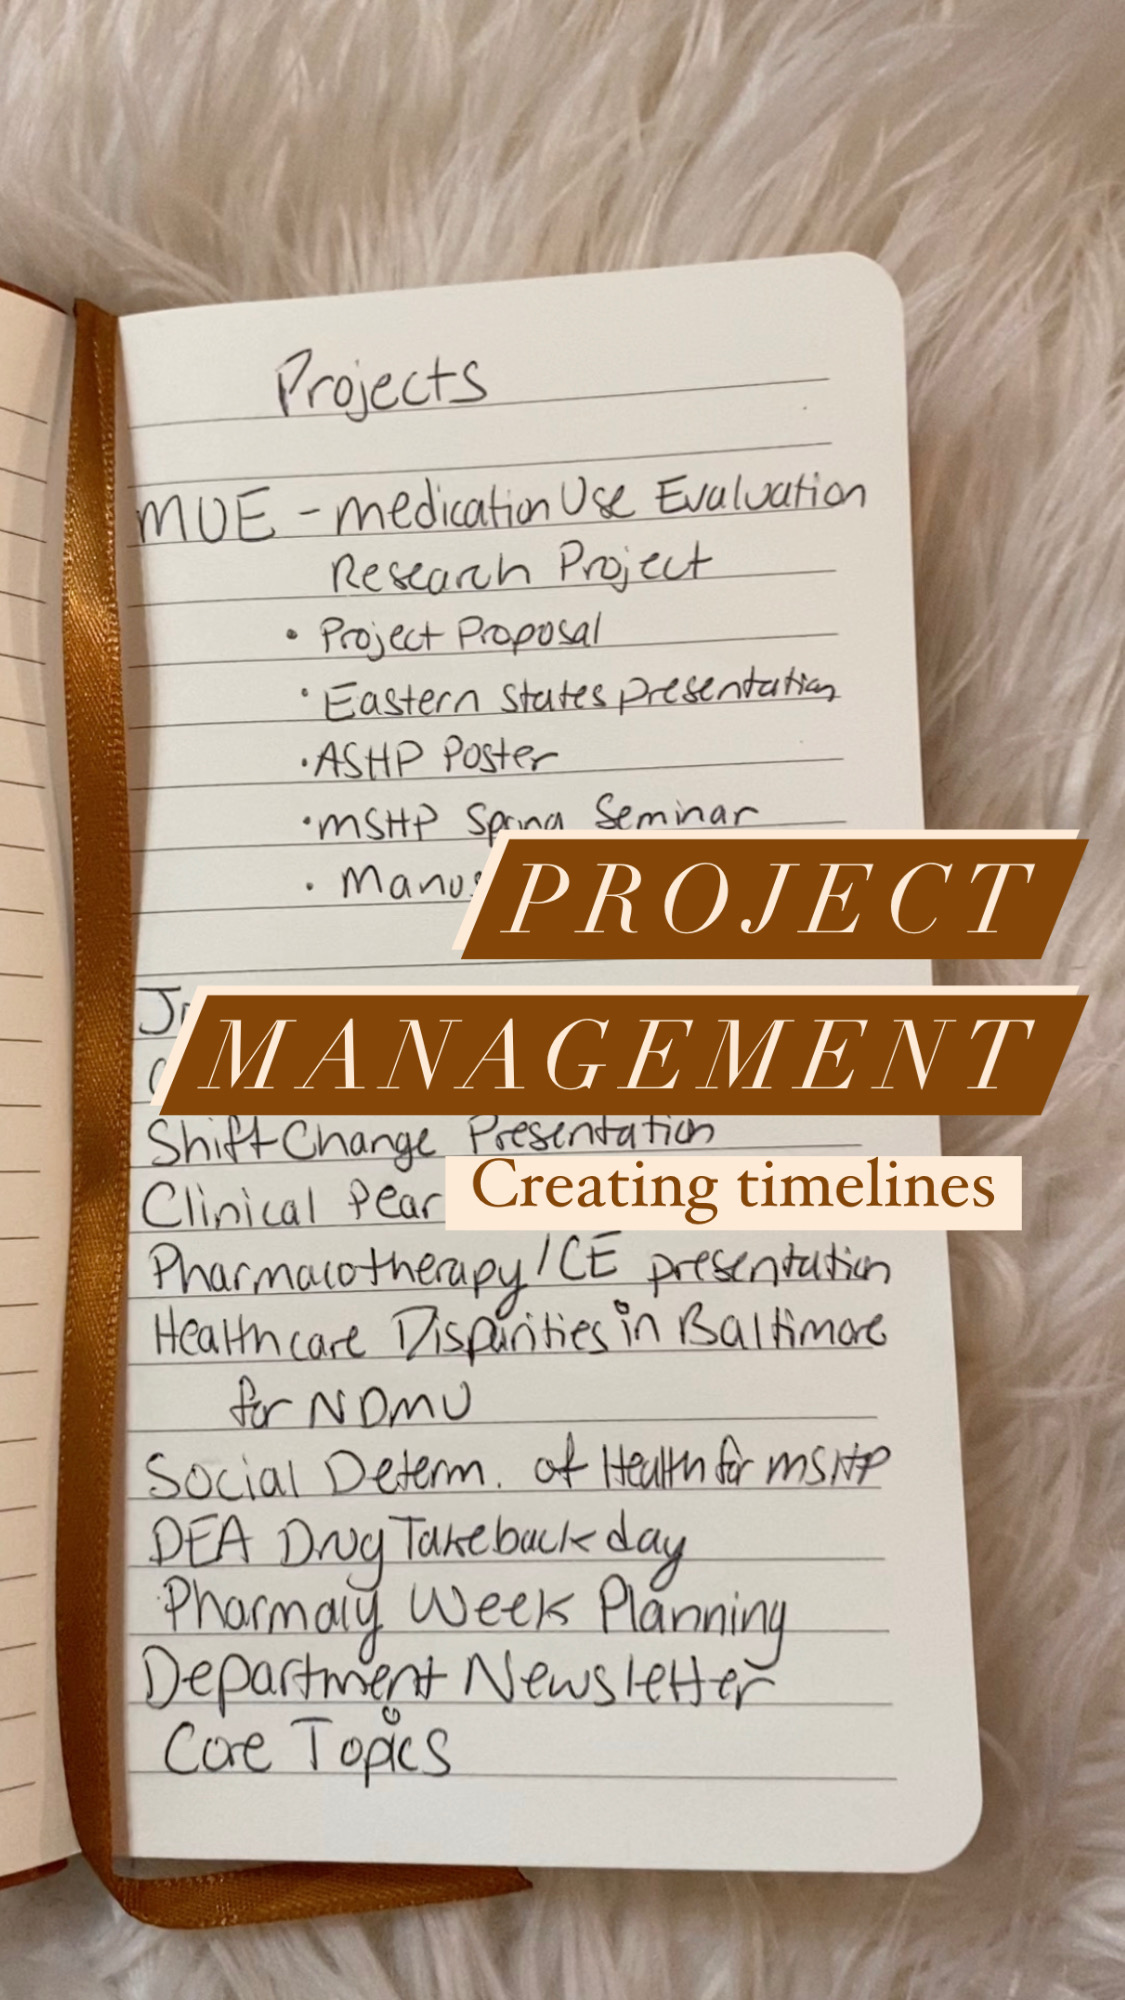
To best illustrate a lot of what I talk about below, watch the reels/short videos I made on this topic by clicking each of the photos below.

OUTLOOK CALENDAR
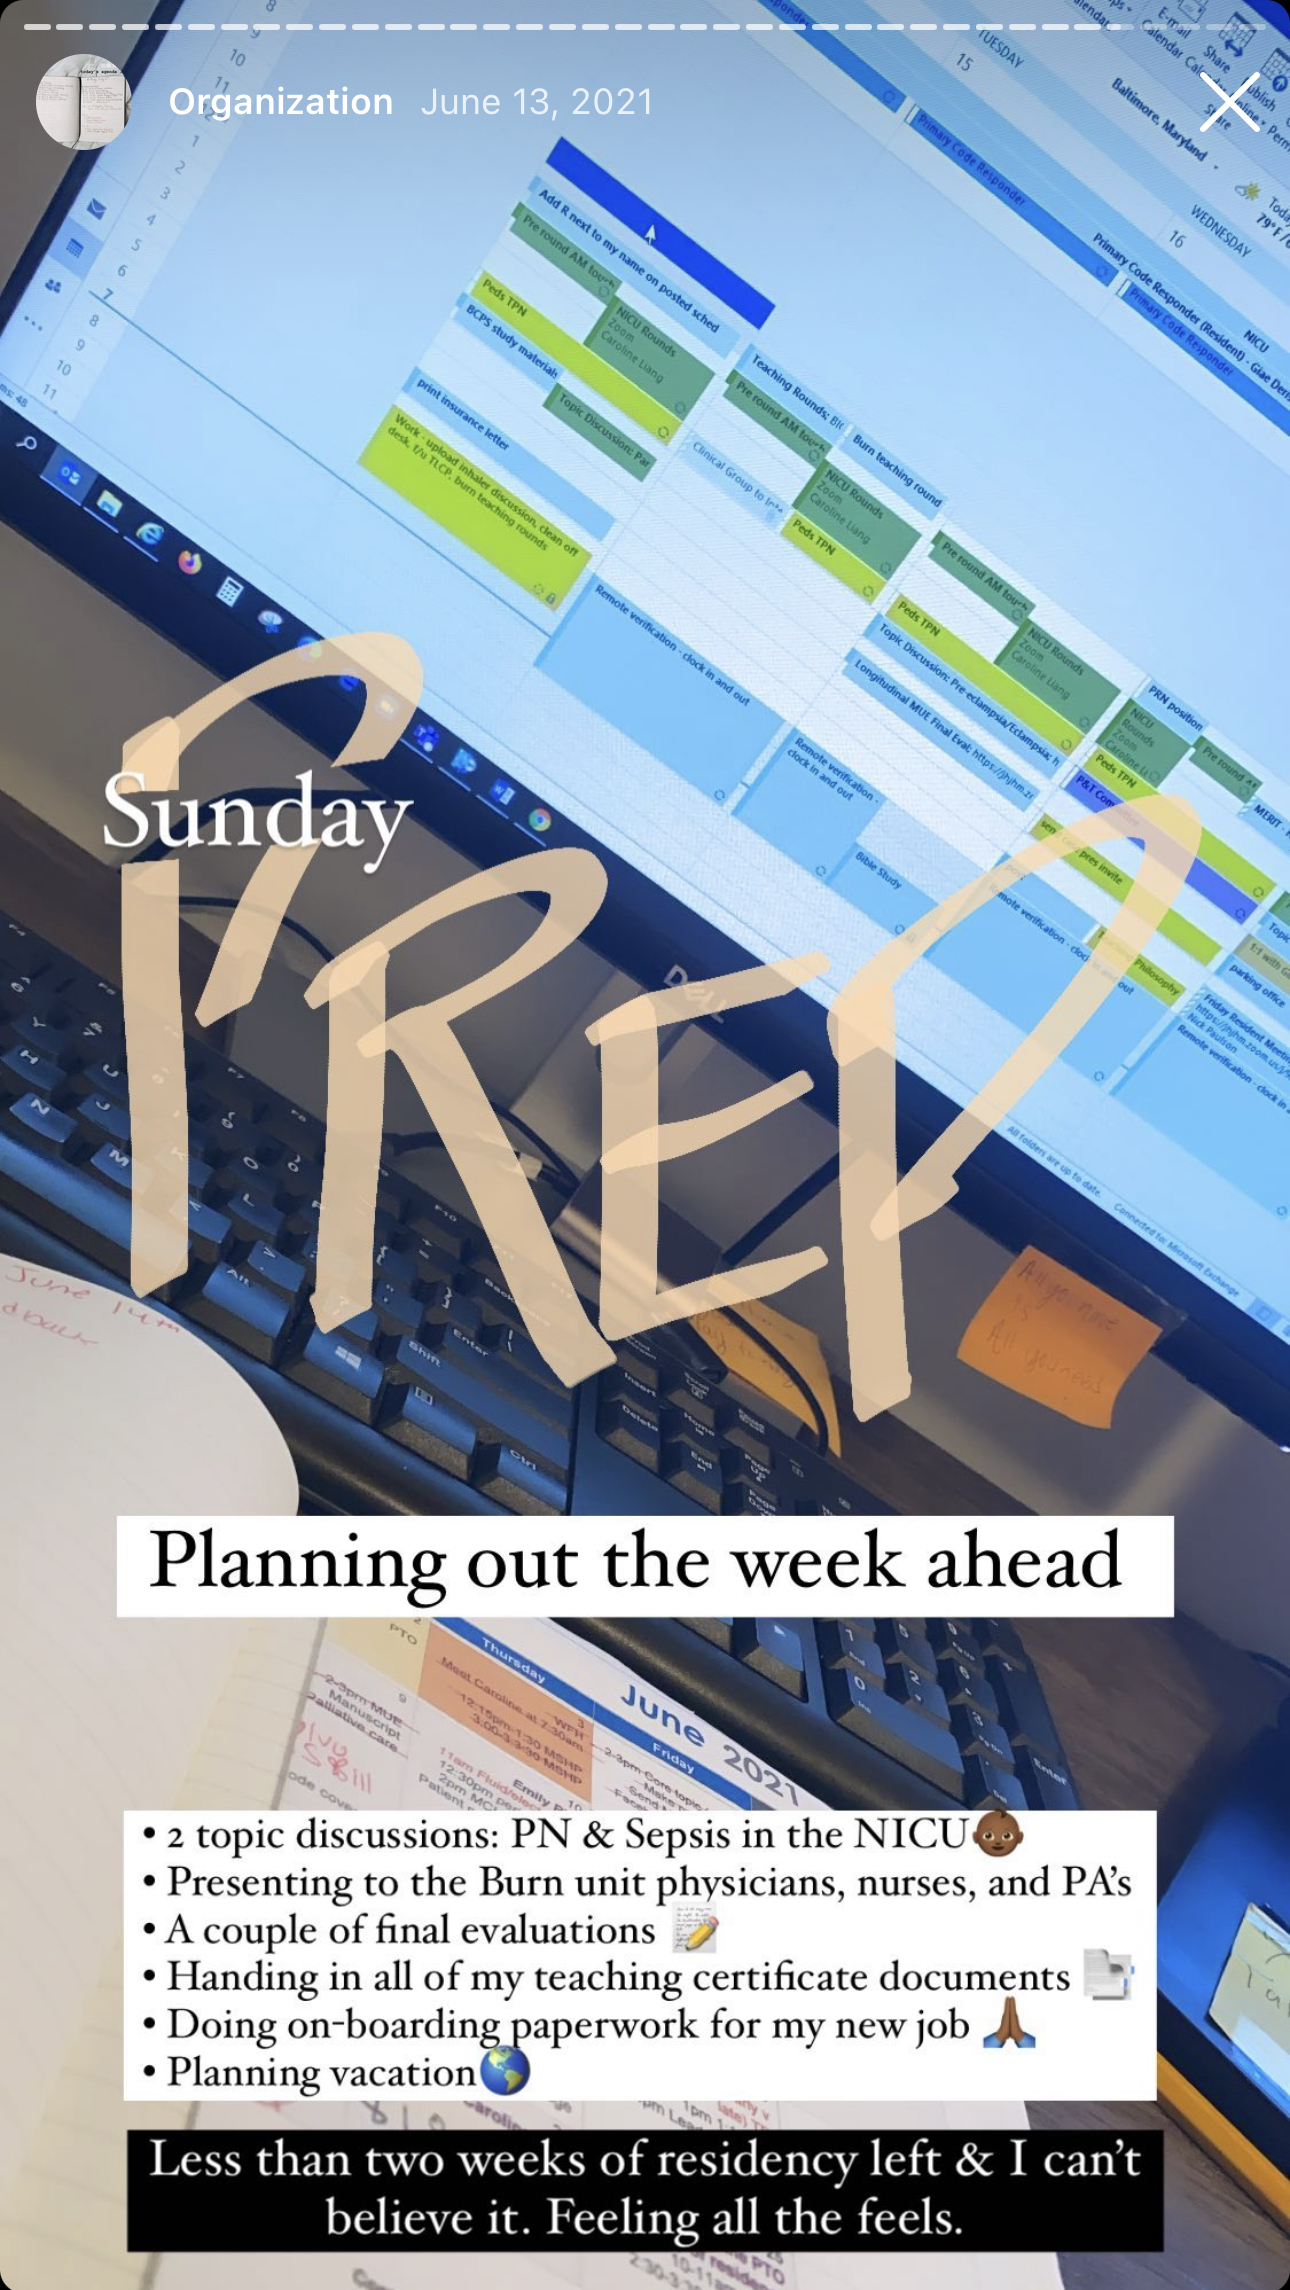
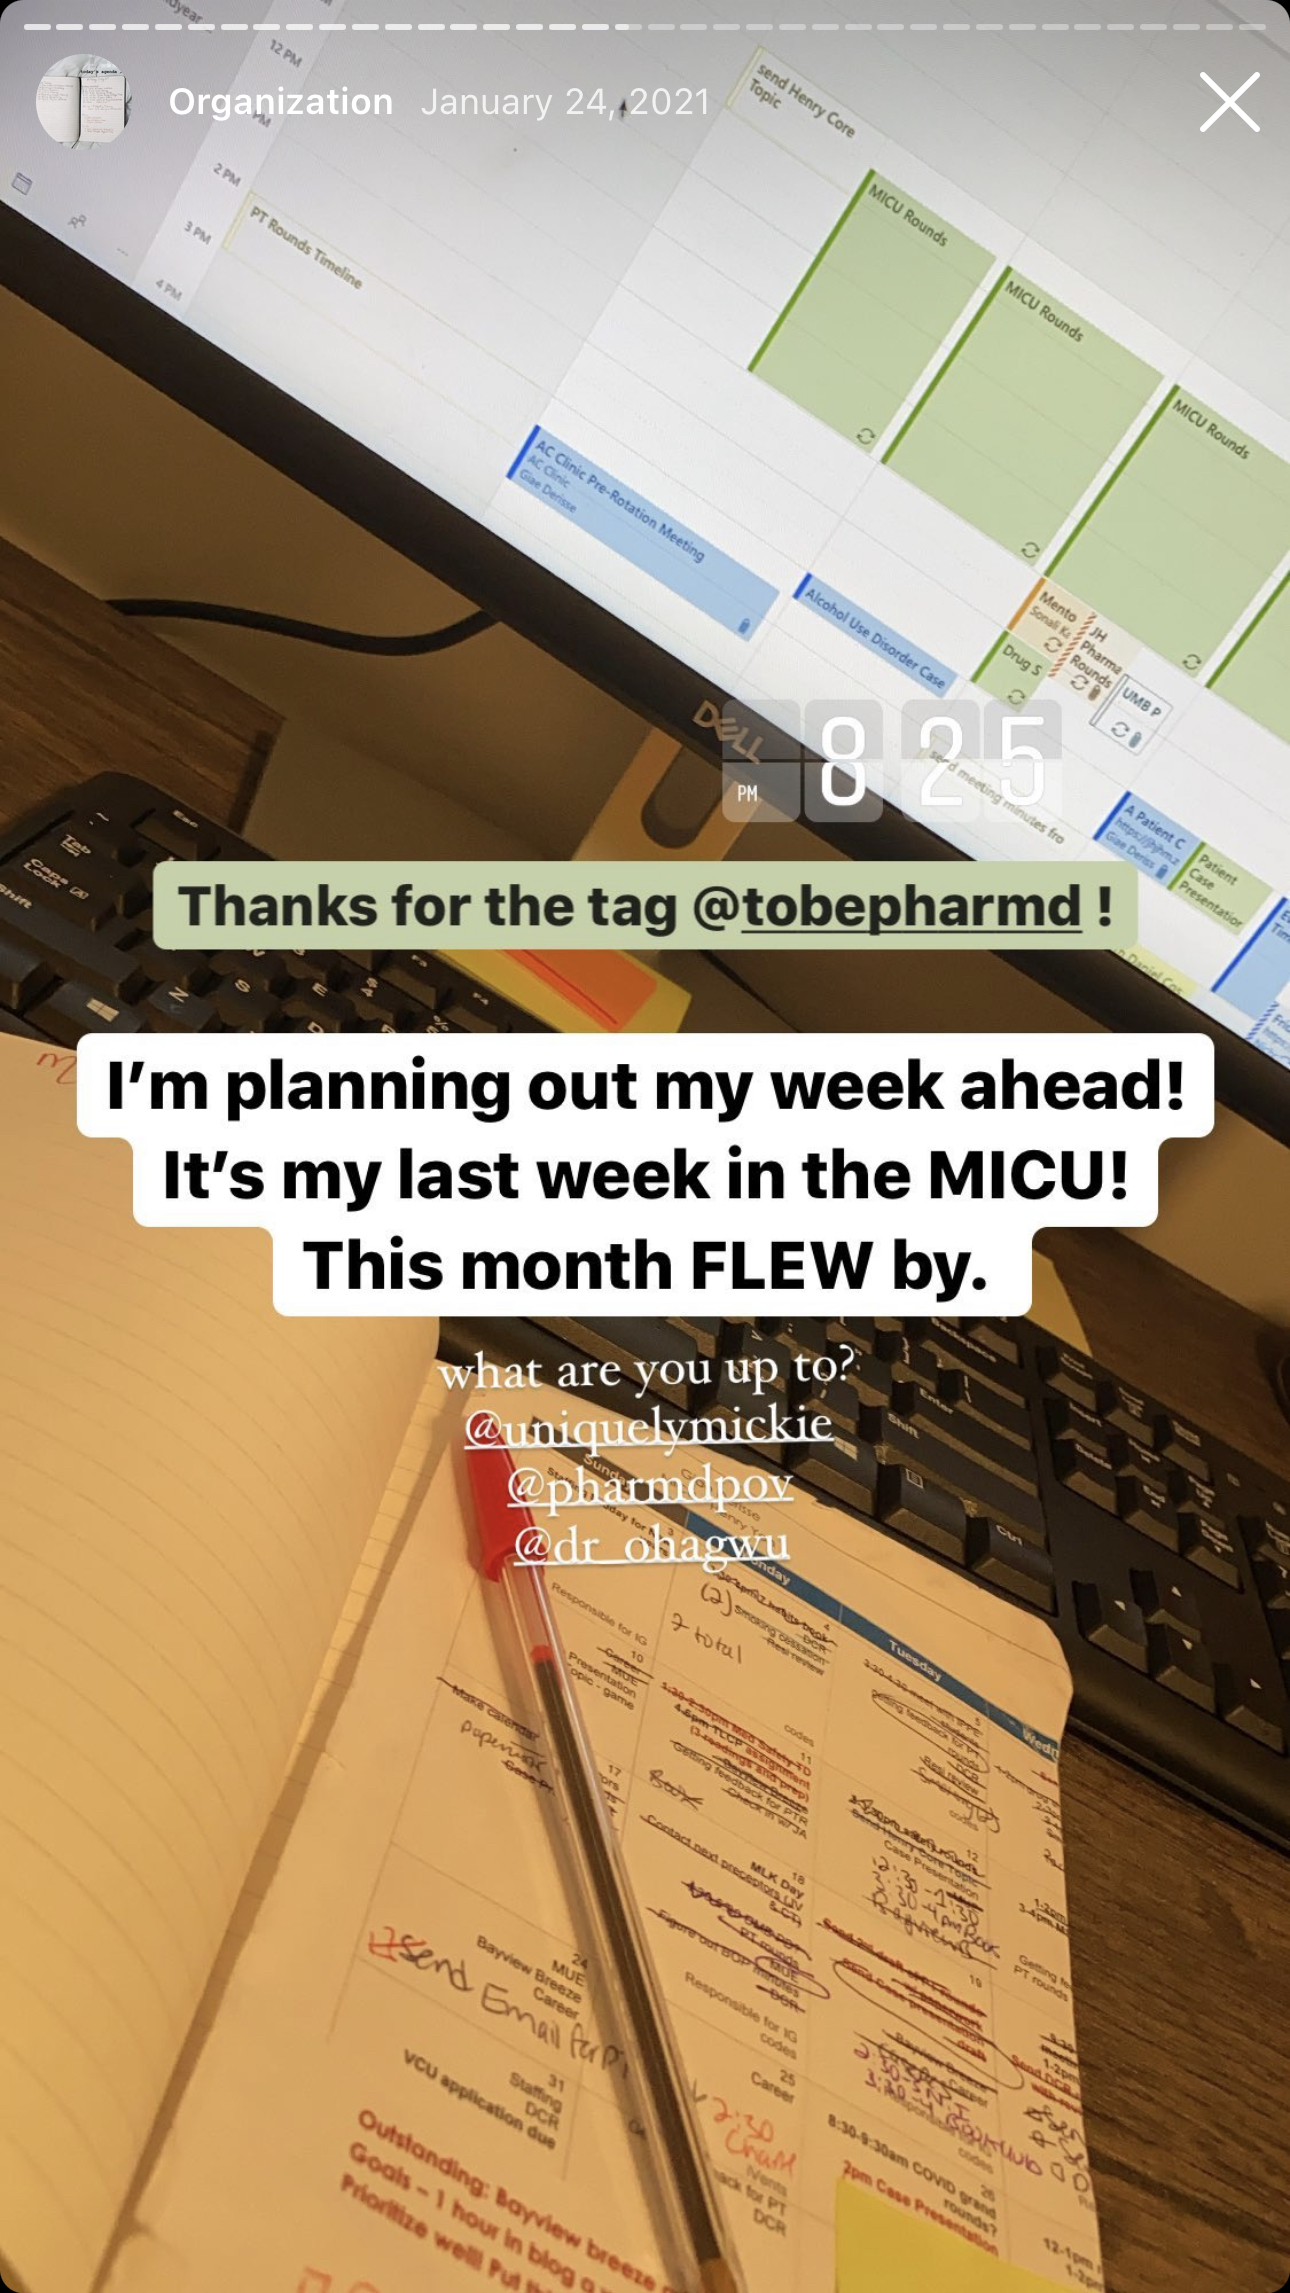
At my hospital, we used Microsoft Office software which gave access to Outlook which was great because it syncs perfectly with all the other cloud services they have (Onedrive, OneNote, Outlook email, etc.). If your site doesn’t have that, then an alternative such Google Drive/Calendar works perfectly too. As you can see below I had (somewhat) of a color coating system for my calendar – for example, my to-do’s for the day were in yellow. With Outlook, you’re able to see everything you have going on for the week effortlessly. I relied heavily on Outlook and put in my staffing shifts, meetings, appointments, to-do’s, etc. as they came up. This way, when I was planning out my weeks and making my rotation calendar for my preceptor (discussed in Part III, tip #3) it made it easier to plan ahead and prioritize what was most important for the week and month ahead. I also used the recurring meeting feature to set up monthly check-ins with myself to track my progress with myself throughout the year and for recurring meetings I needed to have with my RPD, mentor…etc.
Use Outlook to:
- Put in due dates for various projects and presentations
- To-do’s of things you should be working on for the day or week (think data collection, doing a few slides for the presentation you have coming up, starting on your journal club).
- You can also put blocks of focus time in there in order to prevent meetings from being placed on your calendar when you know there’s work you need to get done.
PRINTED/CUSTOM CALENDAR
In Part III, I talked about a rotation calendar for your preceptor (picture below) and I would use this calendar as a foundation to plan what I needed to do each day to stay on task with my projects and make my personal custom calendar. I used a calendar template from Microsoft Word (if you do not prefer to use MS Word, then printing your calendar directly from Outlook works too). This custom calendar would reflect what was in my Outlook calendar but have more detail about my personal tasks.
Essentially, whenever I had a project/presentation/deadline, I would put the official deadline in my Outlook calendar and then make mini milestones along the way to help the project not seem as massive (more on making timelines below) and put those milestones in this printable calendar. In other words, I would have a due date of when it needed to be done and work backward from what due date by breaking the project/presentation up and making mini-due dates and putting those mini-due dates and what I would need to do each day to meet the deadlines for those mini due dates in the Microsoft word printed/custom calendar.
- For example, If I have a journal club due August 31st, then in my calendar on August 5th, I’d put search and choose a journal for journal club; on August 9th I’d put read journal article thoroughly and take notes, on August 11th I’d put start PowerPoint for presentation; August 11th-13th work on journal club; August 19th-22nd work on journal club; August 23rd finalize draft of presentation and send draft to preceptor; August 27th receive feedback from preceptor, edit accordingly and practice the night before.
Projects that require this approach include your year-long research project, your CE presentation, your MUE project…etc. Shorter projects are things such as journal clubs/disease state presentations, etc. which can definitely have timelines too depending on how busy you are. Having a monthly plan in place really helped me to view things from a bird’s eye view to see what was coming and plan accordingly. It would also help inform me what my priorities are and what my week-to-week and day-to-day should look like. In residency, it’s easy to get sidetracked by day-to-day priorities and put aside the long-term projects which is not ideal because when that big project gets closer and you realize it’s far more work than you thought of, it won’t be a good feeling.
Calendar that I would give to my Preceptor

Personal Custom Calendar that had the mini-milestones and personal tasks I needed to do each day
PROJECT TIMELINES
I won’t say much here because I have an entire blog and reel on this. Essentially, timelines are beneficial for you and the teams you work with to complete projects. It makes sure everyone’s expectations are the same and that everyone is on the same page. The rule of thumb is that the more people (stakeholders) are involved in a project, the more time you need to give yourself to complete it.
Here’s the blog post
DAILY TO-DO LISTS (for daily and weekly planning)
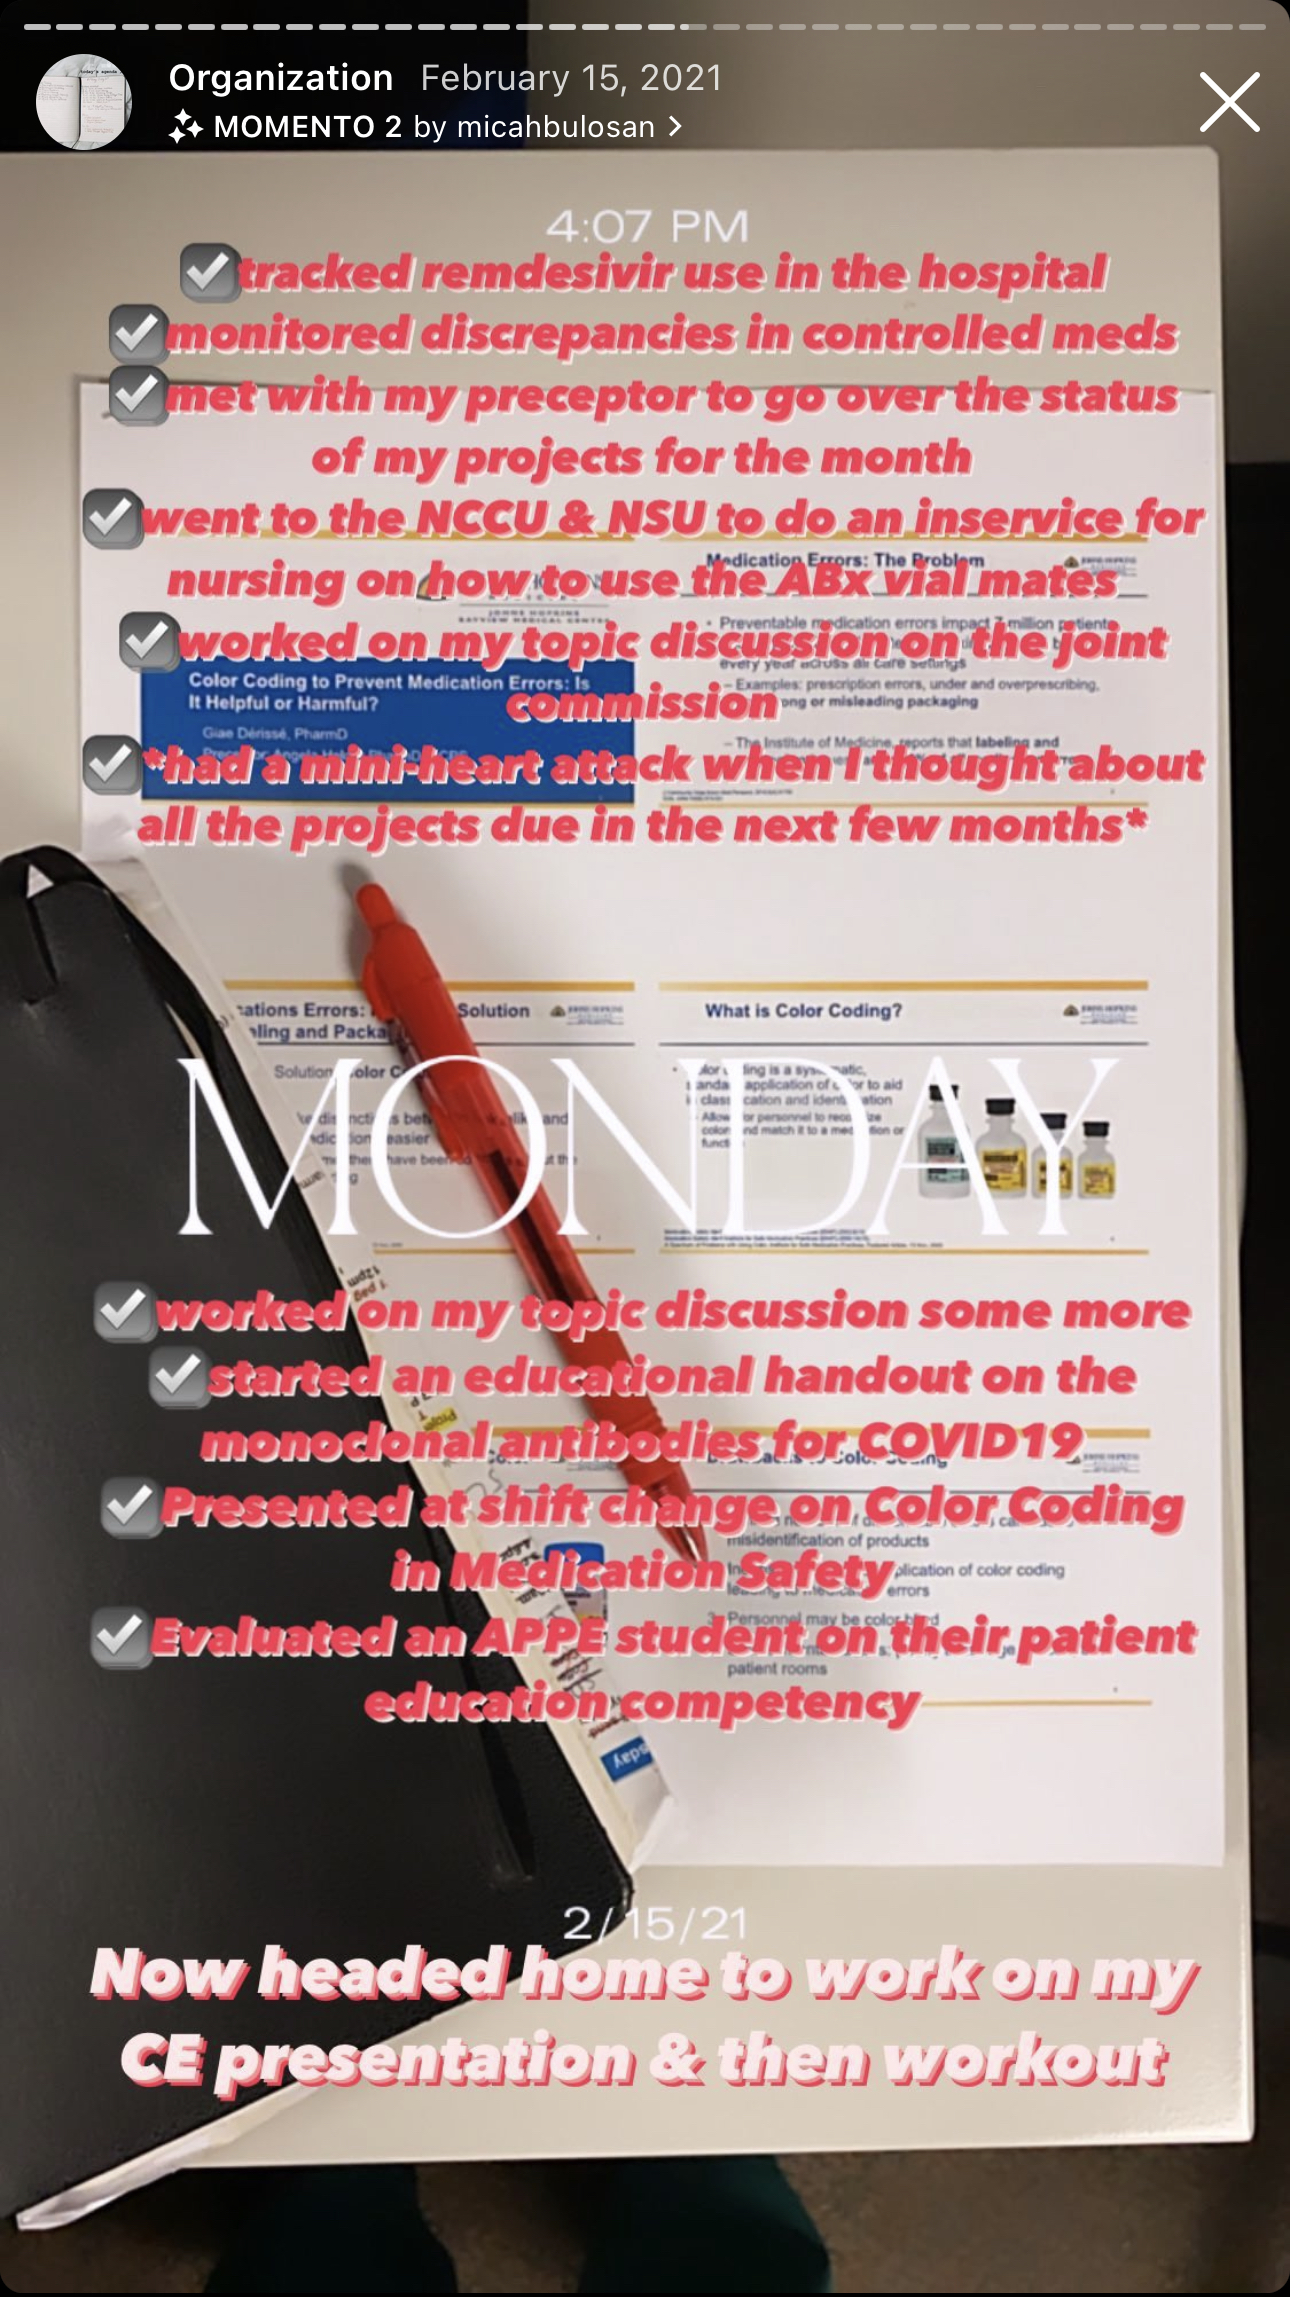
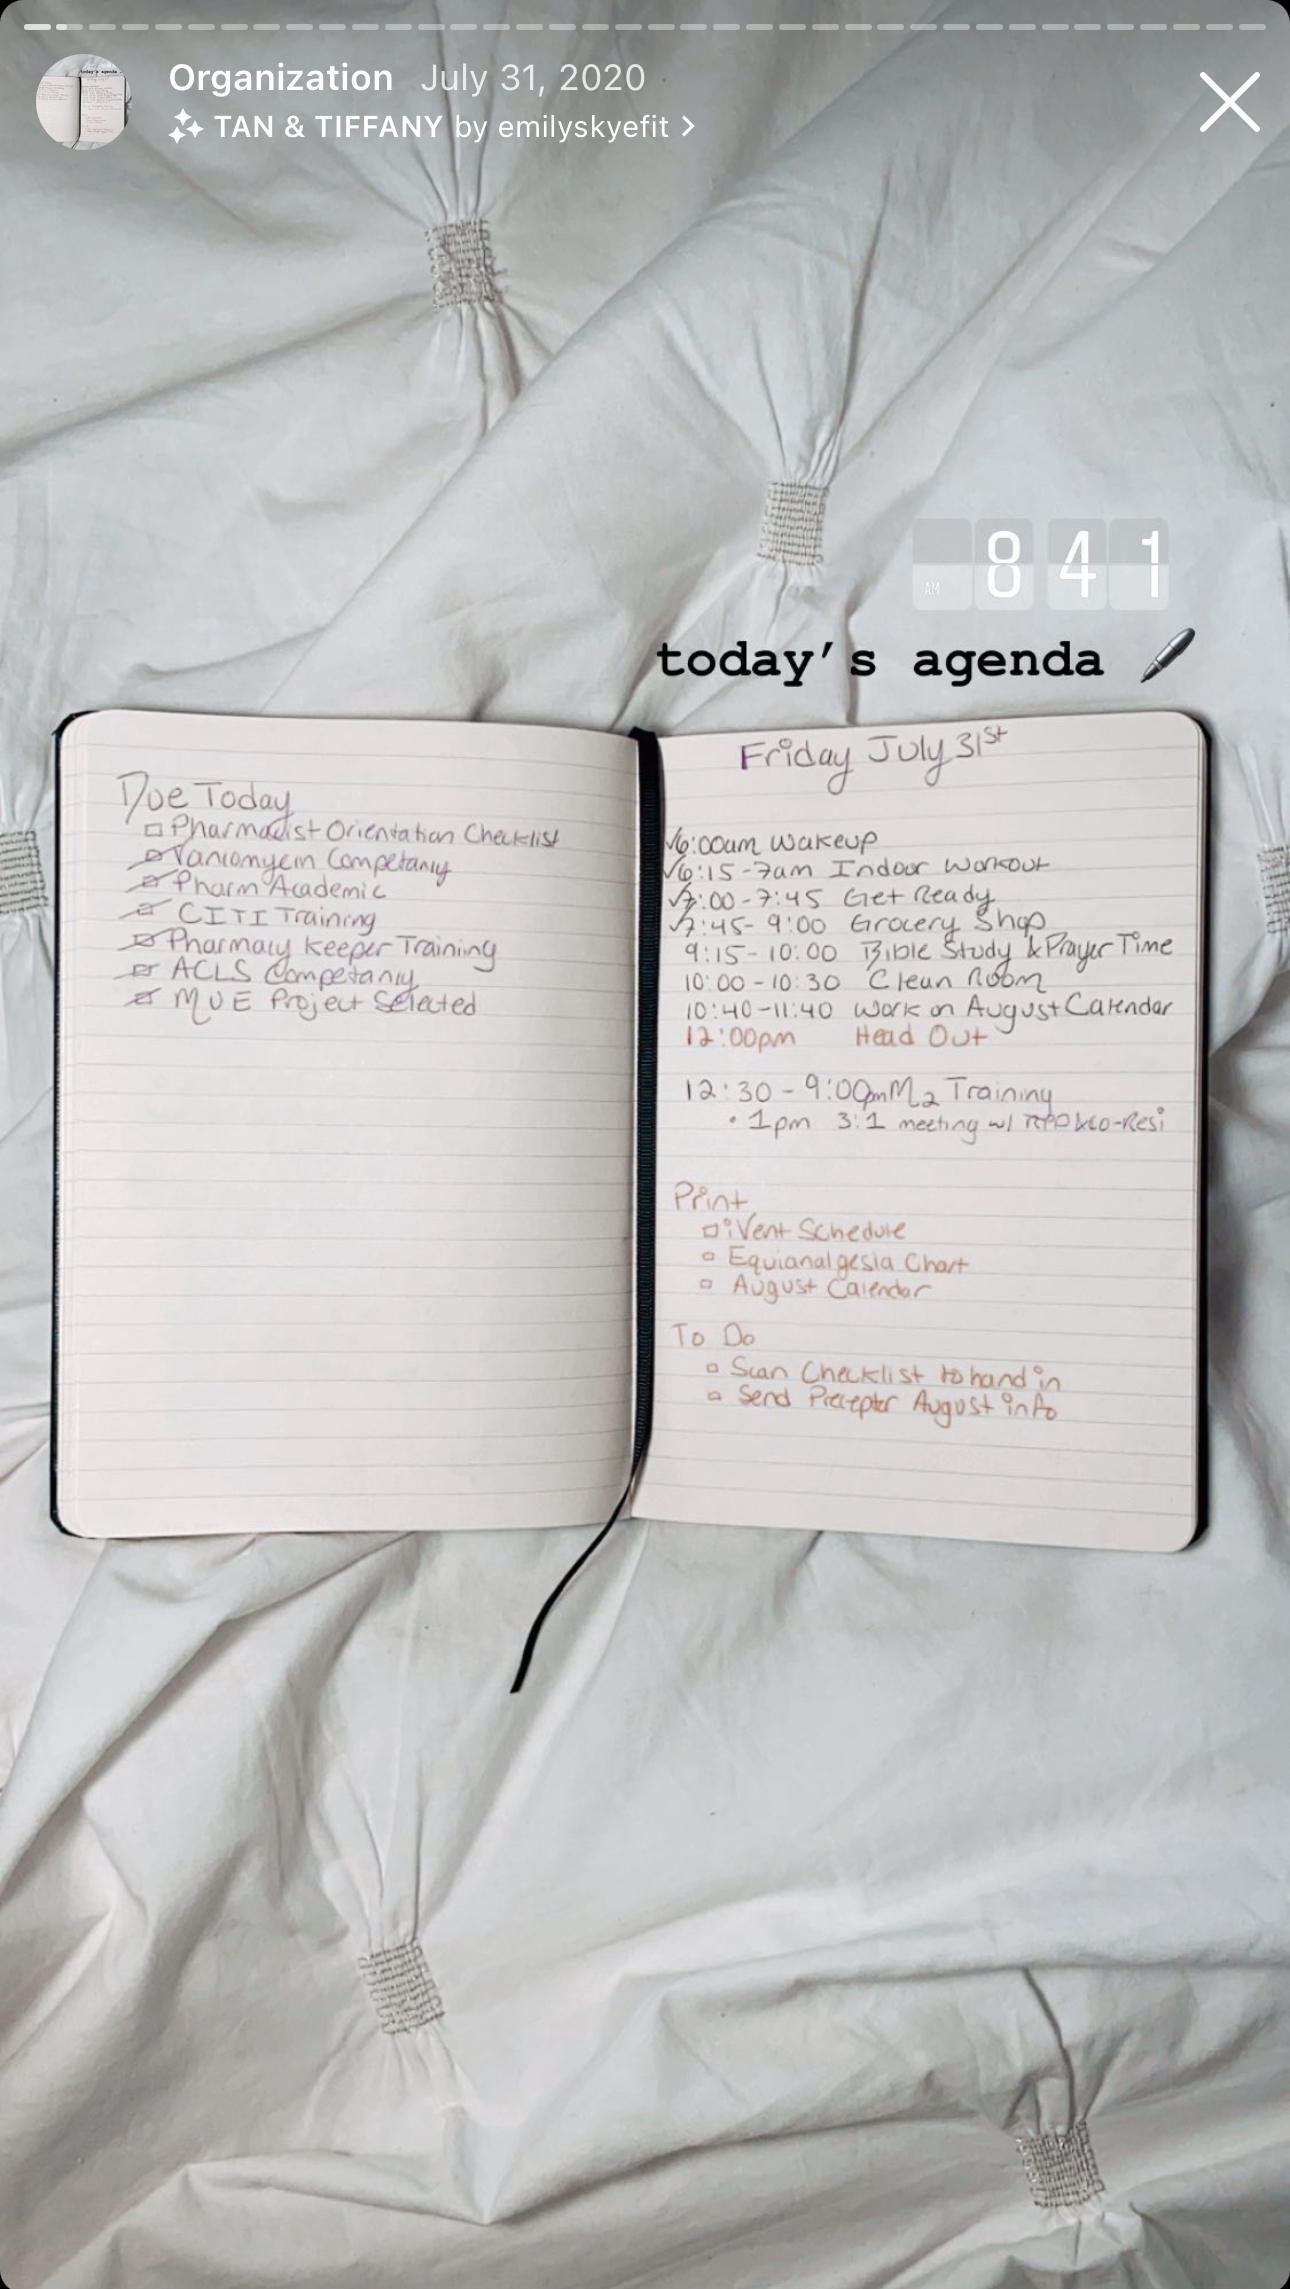
At the beginning of each week (usually Sunday evenings) I would plan out my week based on my monthly plan and what else I had going on that week. I would use my notebook (my favorite notebook is Paperage) to write out what I needed to do every day (Mon-Friday) it was a ‘to-do’ list that was more organized into time blocks. So it would look something like:
7:00 Get to the hospital
7:00-8:30 Workup patients
8:30-9:00 Pre-round discussion with preceptor
9:00-11:30/12 Rounds
12:00-1:00 pm Lunch & put in orders, review patients for changes
1:00-2:00 meeting with MUE team
2:15-3:30 Work on MUE project
4:00-5:30 Work on Topic Discussion (+ check in with patients and team)
Head home, exercise, eat
Do some work if time: finish meeting minutes, read for RPD bookclub
Prep for tomorrow: Look over the day tomorrow & adjust if needed, prep clothes
This seems very strict, but it worked well for me to keep a goal for my time versus floating around not knowing what to do well from the overwhelm of how many tasks I have to do.
The other tip I have is if you prefer to-do lists, remember to prioritize what on the to-do list needs to be done ASAP, what can wait, and what you should work on little by little. It’s easy to look at a to-do list and knock out the ‘easy’ & ‘quick’ tasks even though they aren’t high priority.
Check out my favorite notebooks from Paperage HERE. If you’re not into physical notebooks and prefer digital, consider OneNote, Evernote, or Notion.
SHORT LIST
I would also recommend having a ‘short list’ of things to do. You know those times in between meetings or classes where it’s not long enough to do a deep dive into a project, but you also don’t want to waste those 15-20 awkward minutes? That’s where a shortlist comes into play. Each day/week you can have a list of quick tasks you can do in those awkward times. This can include sending an email, registering for a conference, taking a survey to get your CE credits, and other quick admin tasks you’ll need to do that won’t take up too much time. This is helpful for you to have focused and extended time doing projects that require a lot of focused attention without getting distracted by smaller tasks.
GENERAL ORGANIZATION TIPS
Prioritize
- All in all, it’s important to prioritize. It’s very easy to be busy but always evaluate if what you’re doing is actually getting to the end goal. Being strategic with your time is important – it can be easy to get caught up on menial tasks just to check a box on a to-do list but be sure to to prioritize what’s important. (For more on urgent/important/not urgent… etc. google Important but not urgent quadrant and read up on it).
- Timeblock! Have a purpose for your time

Reduce distractions
- There are so many things fighting for your attention on the day-to-day even at work. There are things you can do to minimize this such as:
- On your personal device, turn off notifications that aren’t important or use the ‘scheduled summary’ feature to get notifications only at certain times of the day (emails, breaking news. and other random apps that always send push notifications)
- On your work computer, turn off the settings that make sounds and/or give pop-ups when emails or chats come through (I’m talking the social IM chats such as Microsoft Teams, NOT the clinical chats you need that you discuss patient information over with colleagues and other providers in the hospital). This way you don’t feel pressured or distracted to check emails and chats all the time. If there is a true emergency, you will know.
Night before prep
- The night before and/or when you stop your work for the day, be sure to look over your plans for the next day to see if there are any adjustments needed
- Prepare your lunch, prep your clothes…etc
- This will save you a lot of mental energy in the mornings
Sunday Prep
- Sunday prep was great for me because it helped me to prepare for the week and re-set to minimize the decision fatigue I had during the week
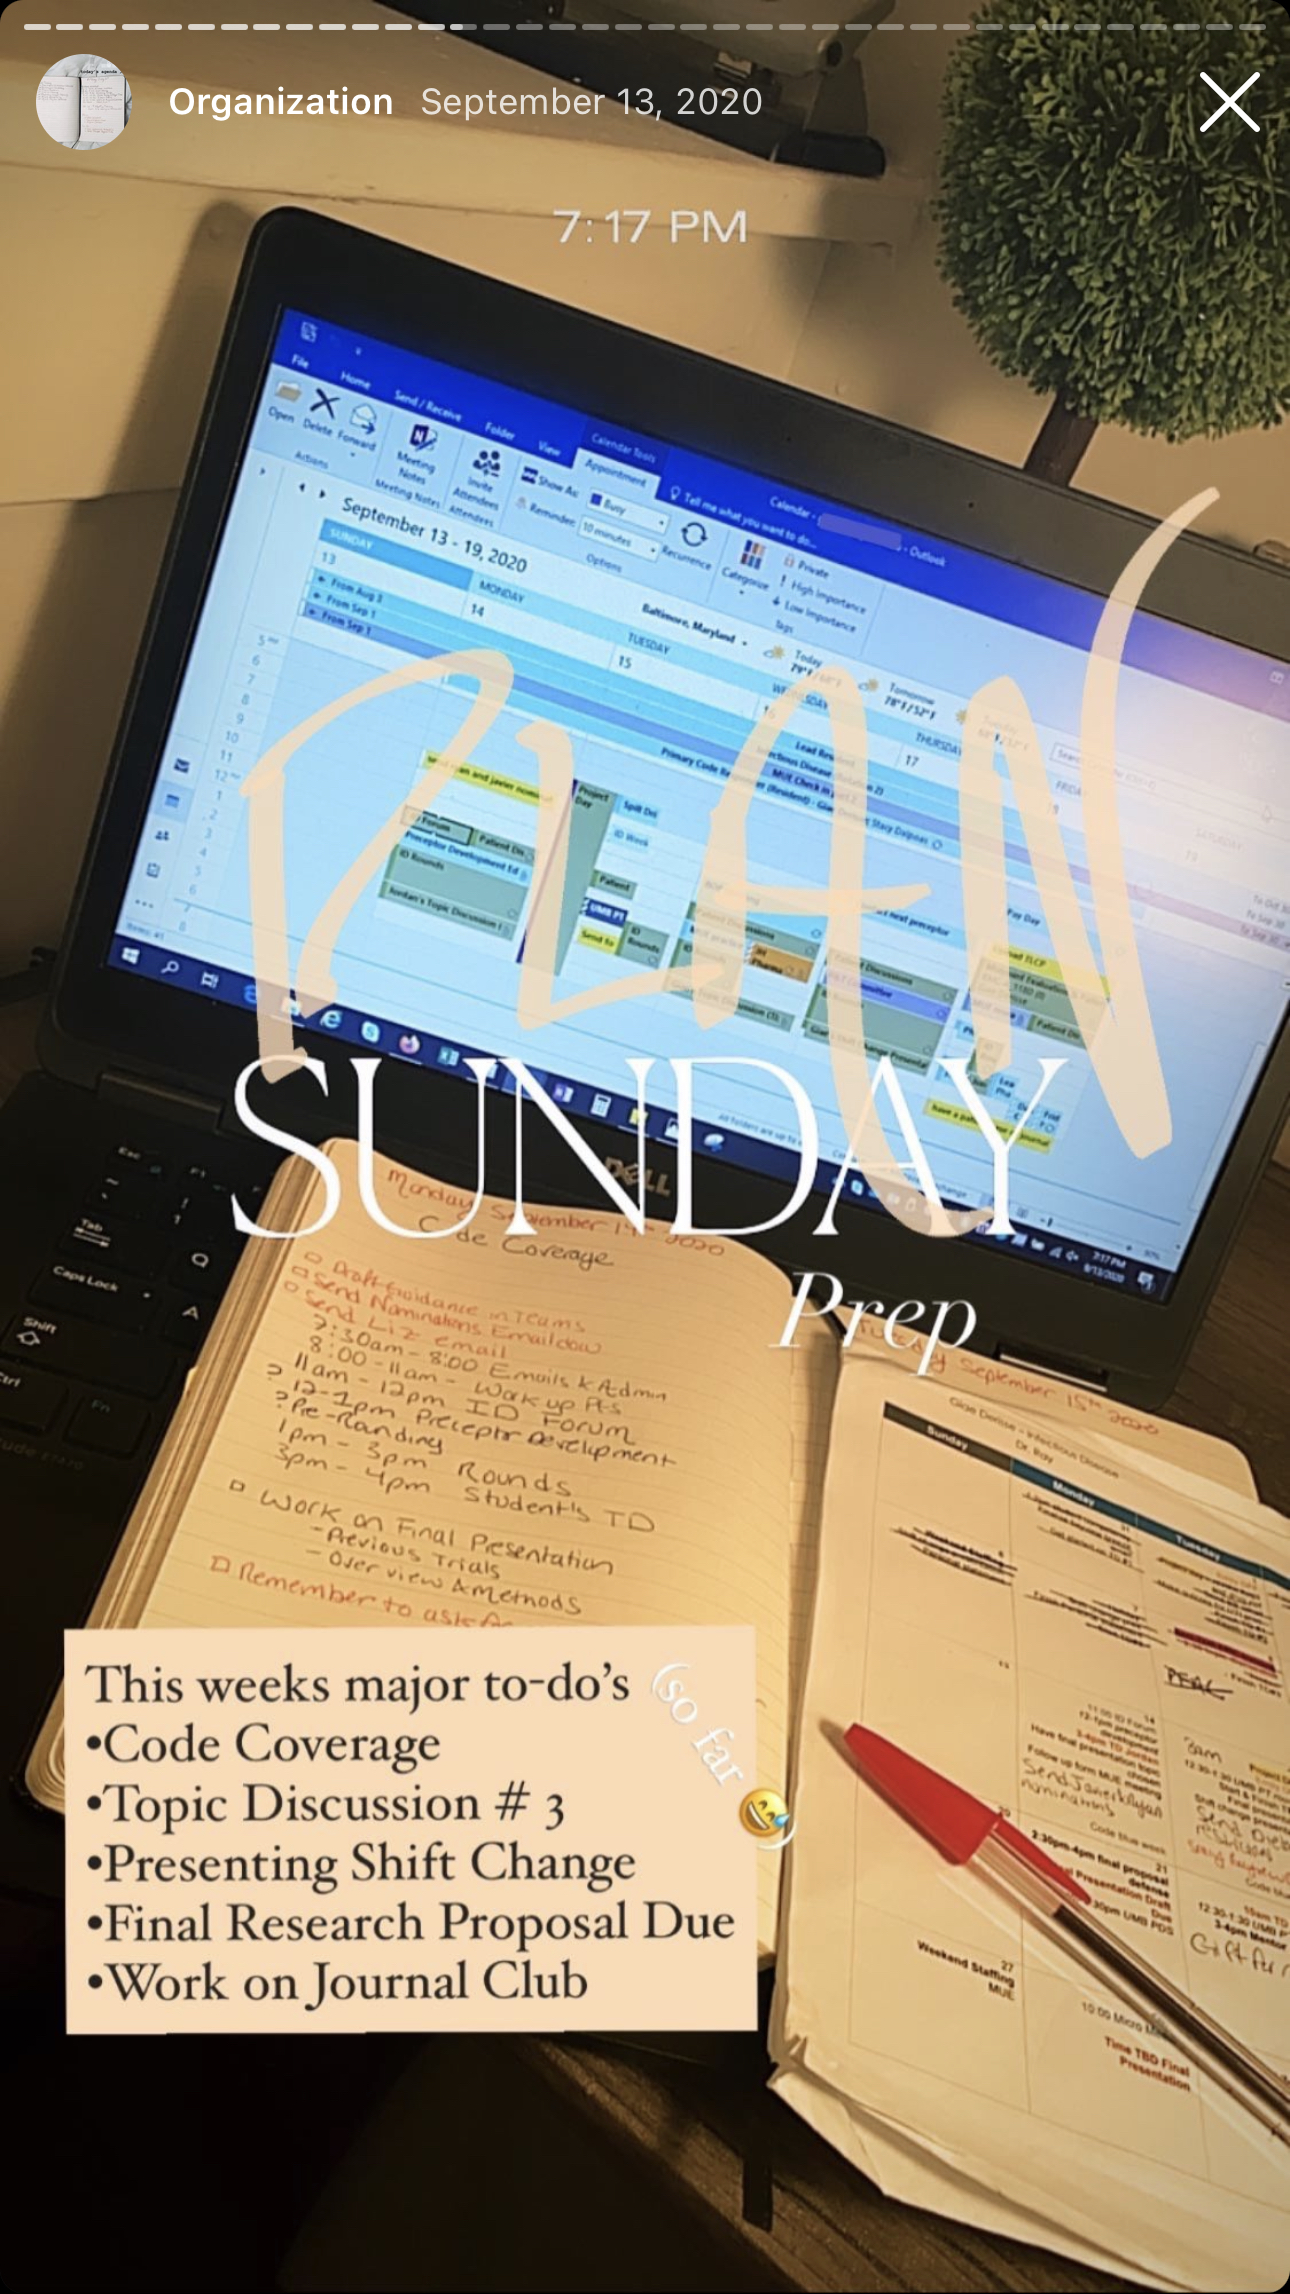
- Sunday prep would consist of things such as: cleaning, prepping for the week, meal prepping, checking in with family and friends, preparing my outfits for the week…etc
Figure out your best place to get work done
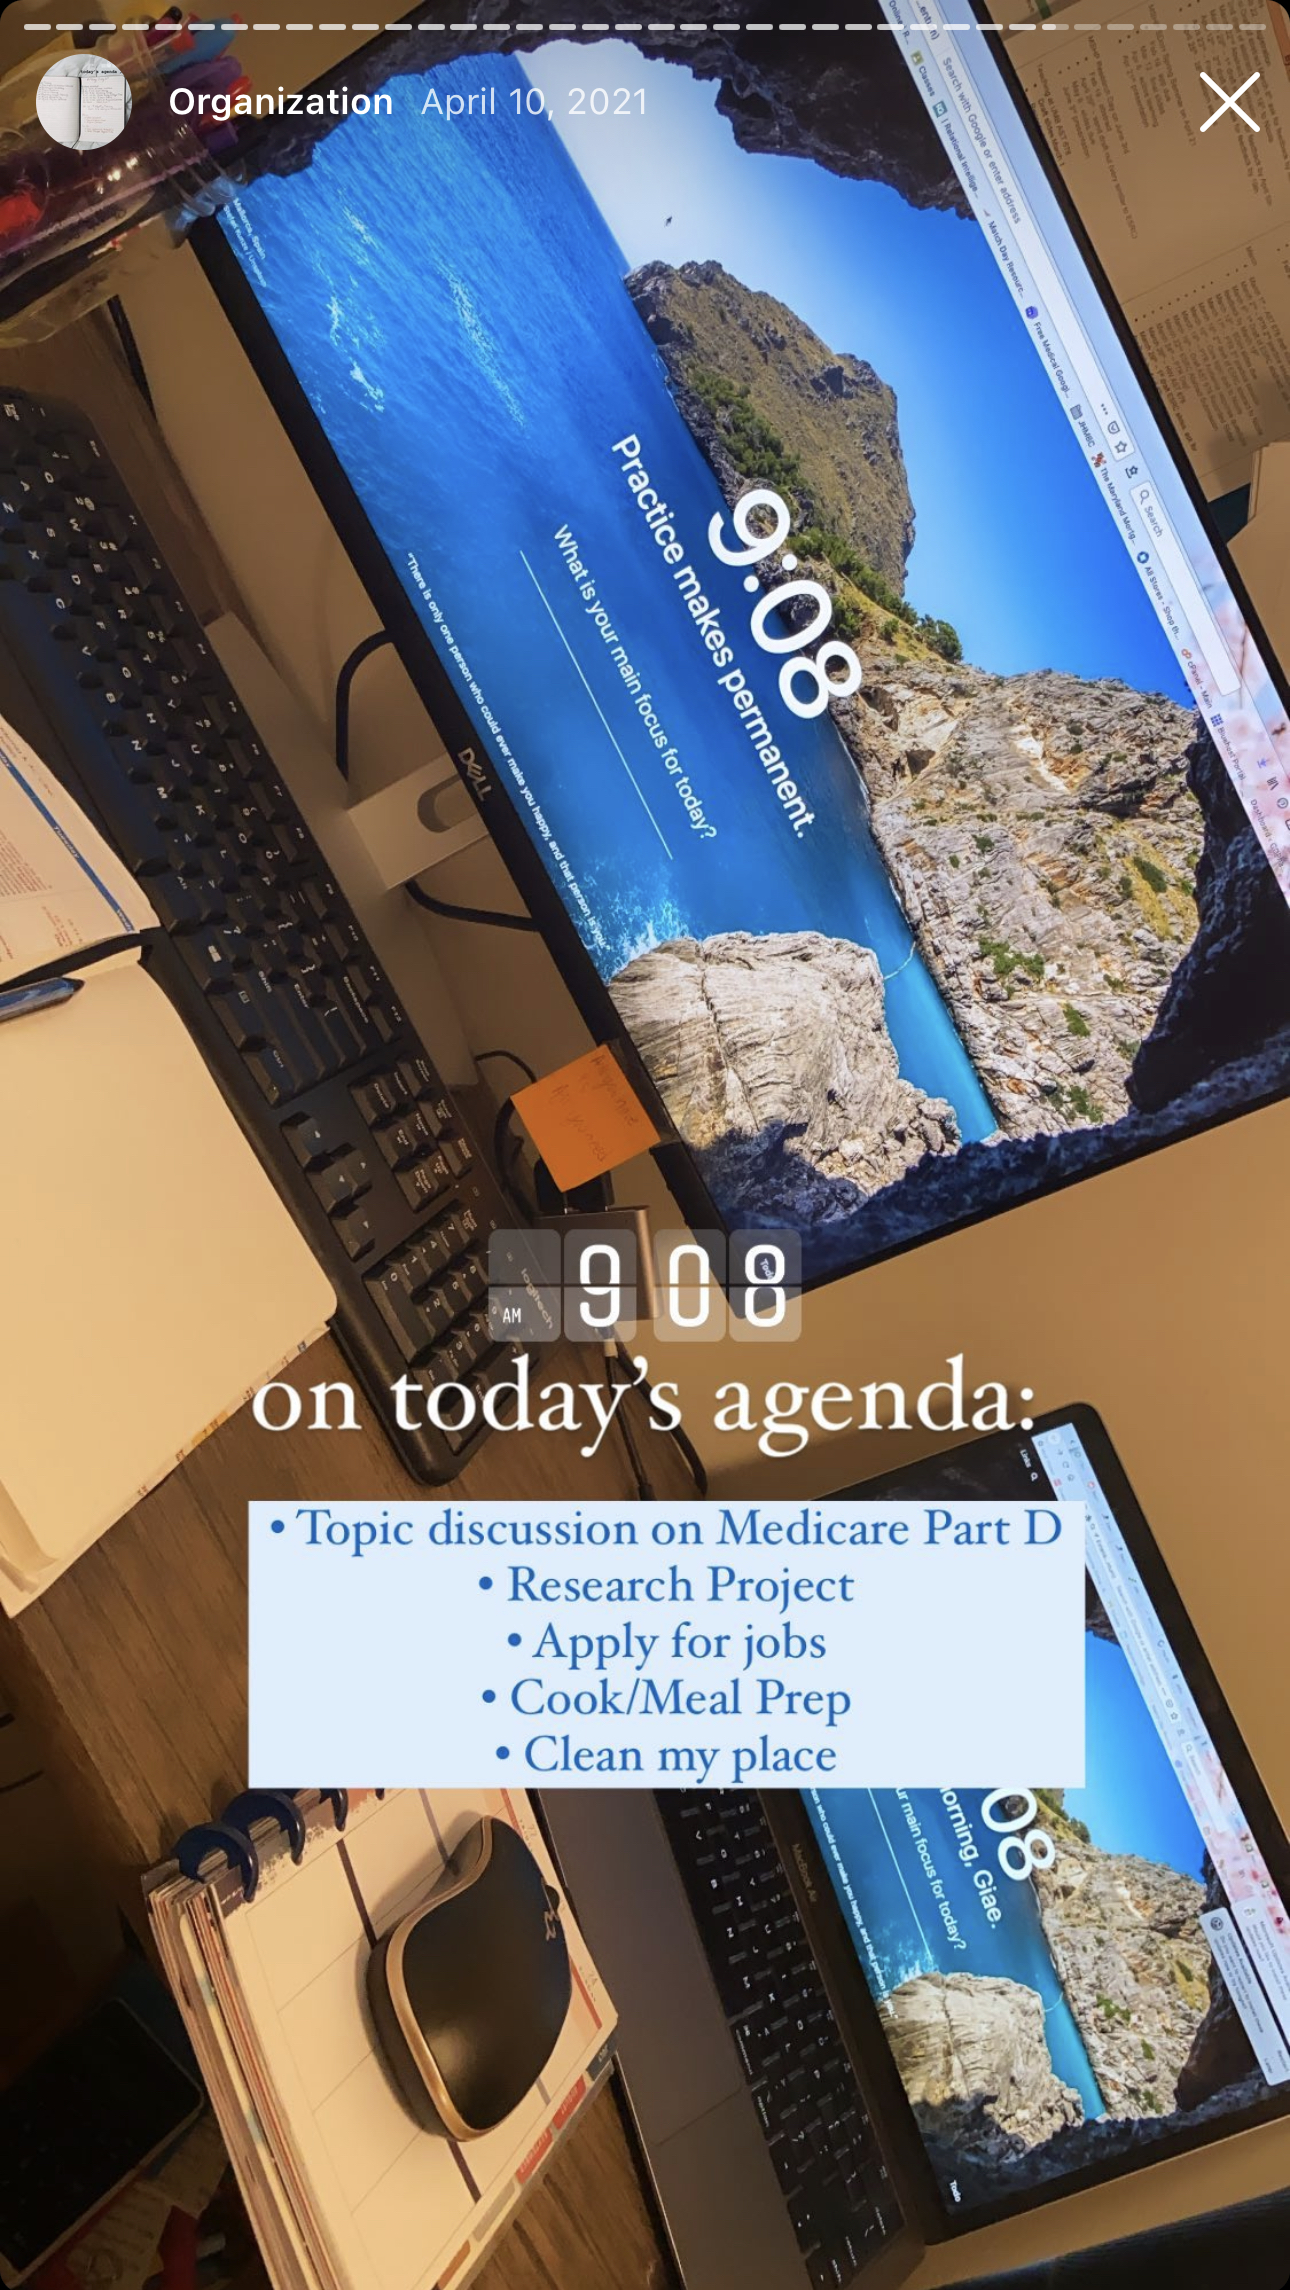
- Some people like doing work better at home vs. in the hospital office. Some people can’t focus at home and would rather do work at the hospital. The point is, to figure out what works best for you and it may fluctuate throughout the year. For me, at the beginning of my residency year, I worked more in the hospital (shout-out to those double screens), and then once I purchased my own monitor for my home setup, I worked more at home. I bought the Dell 24 Monitor – S2421H on sale and Amazon has tons of affordable monitors. My residency program also gave us laptops for the year which made doing work from multiple places possible.
Take your PTO
- Nothing like PTO day(s) where you don’t touch your residency stuff and come back feeling refreshed to tackle your to-do lists.
Check-in with yourself
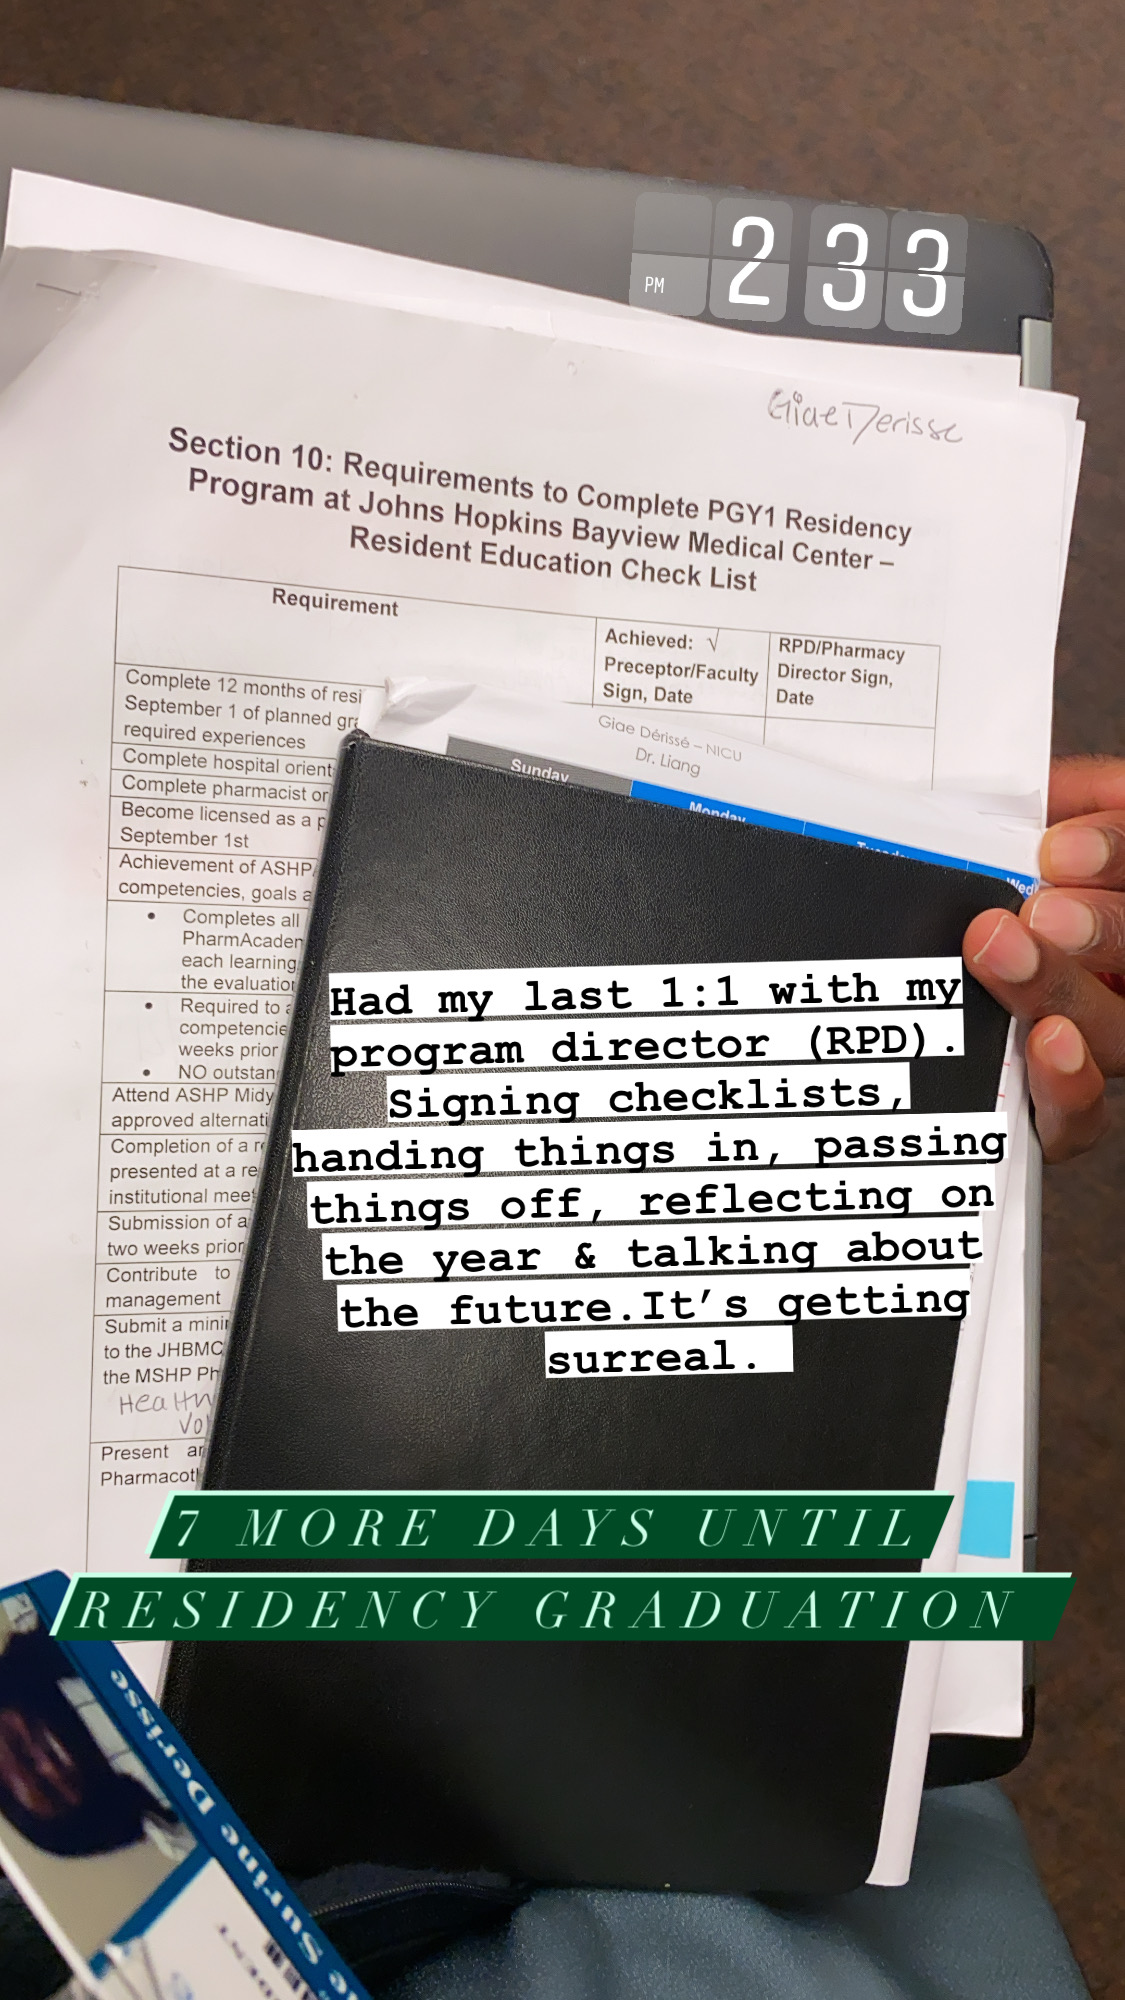
- Every month or so take the time to slow down and check in with your residency progress. For my program, there was a residency checklist we had for the year so I would look over that and make sure I was on track. I would also check in to reflect on what’s going well, what isn’t, and how to improve (both in residency and personally such as staying active/exercising). Lastly, I would check in with ‘my career’ how I was feeling about future plans, if I was still interested in a certain specialty, if I wanted to do another year of training, or if one year was the path I wanted to take..etc. You can also use this as a general life check-in such as with your finances.
You can plan all you want but everything doesn’t always go to plan
- Give yourself grace, adapt, and do what you can with the time you have left
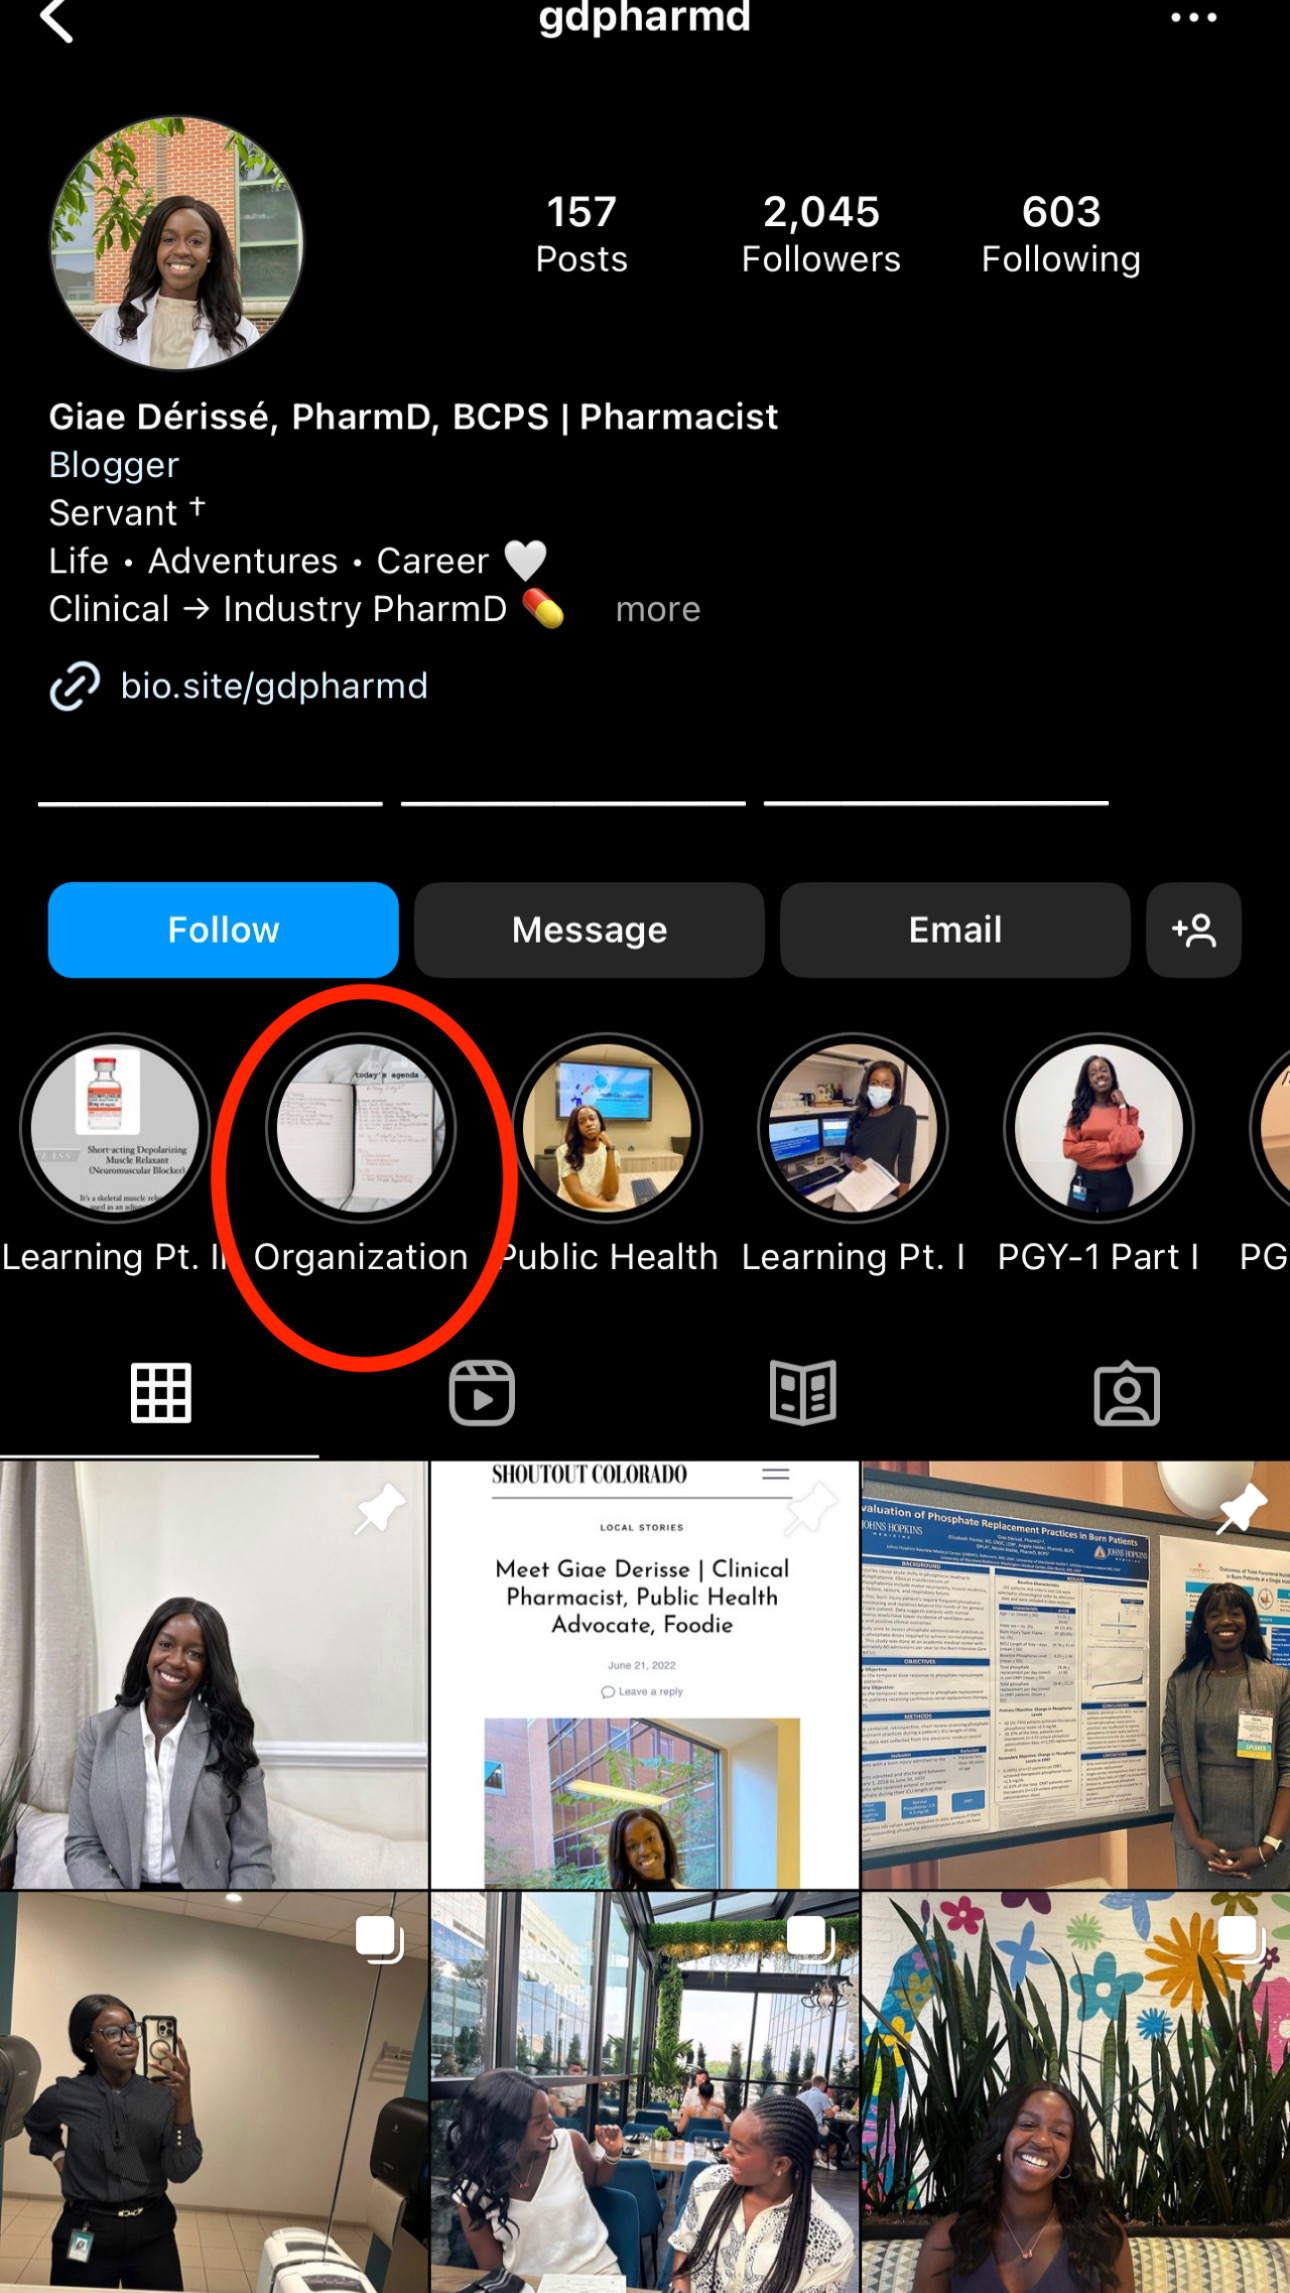
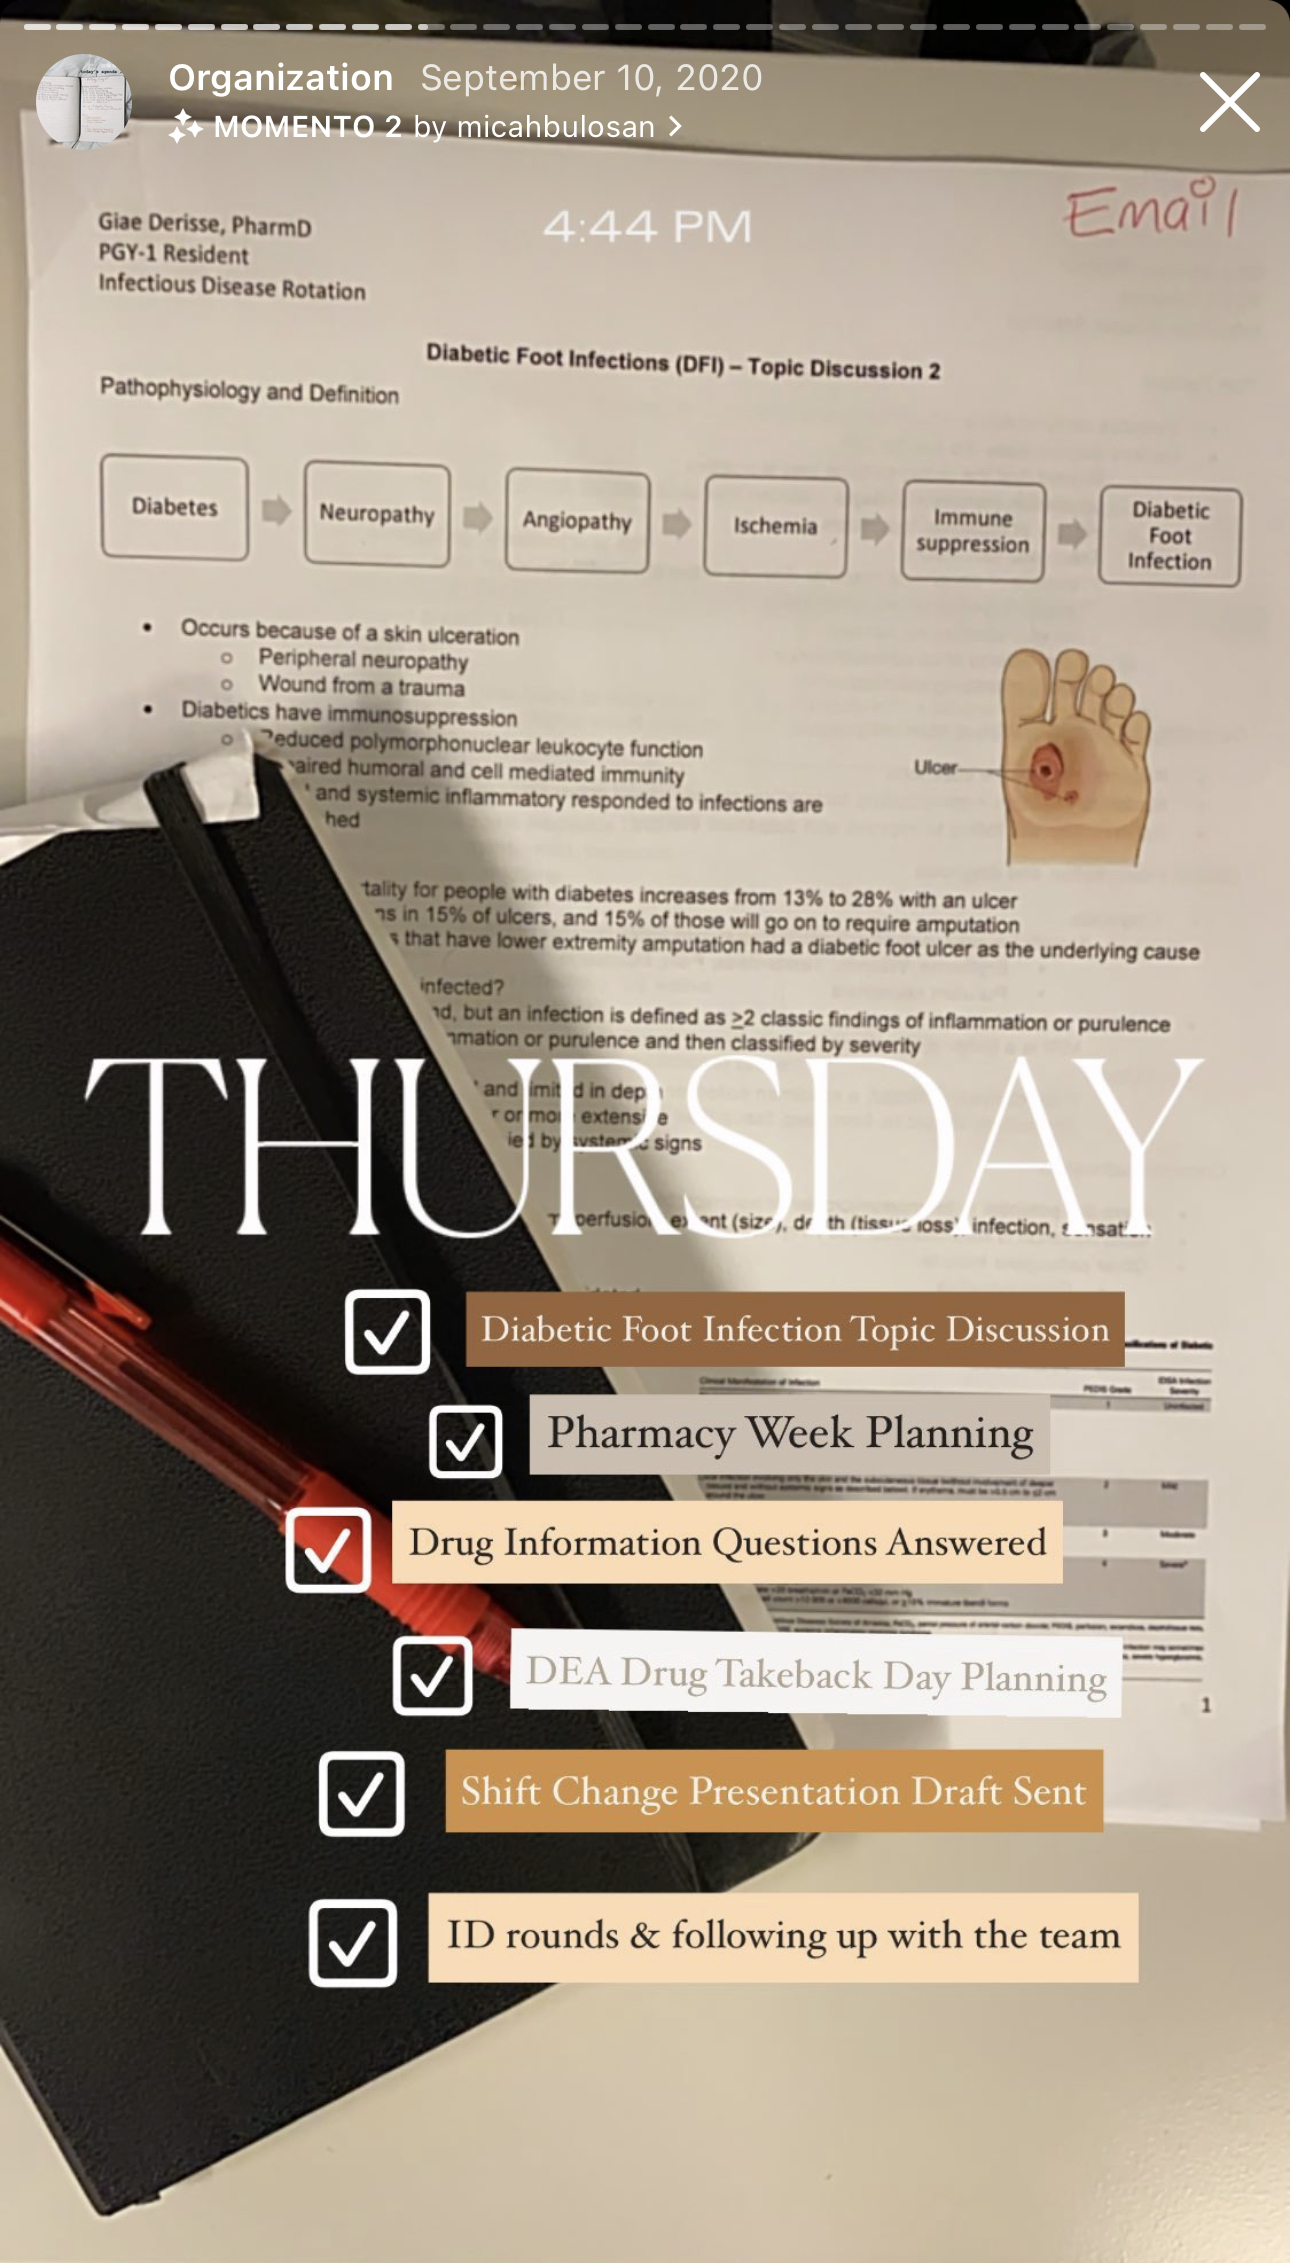
Check out my ‘Organization’ highlight on Instagram for more about what organization looked like for me during my residency. Link is HERE
And that finishes my Ready for Residency Series! To conclude it all, some residency programs aren’t as busy or chaotic as others. Mine was a very very intense year with projects back-to-back. What you may find is that the clinical rotation you are on is just a part of your residency experience. With that, there will be a lot of projects, administrative work, meetings, etc. While it may seem frustrating, those are all things that you will learn from, so make the most of it. Try your hardest to find the bright side in everything and to not complain your way through residency.
Plan out fun times ahead of time, do good work, use your PTO, and be friendly and genuinely get to know those you come into contact with!
Shop some Organization tools Below – Just click on the individual photo for direct access!



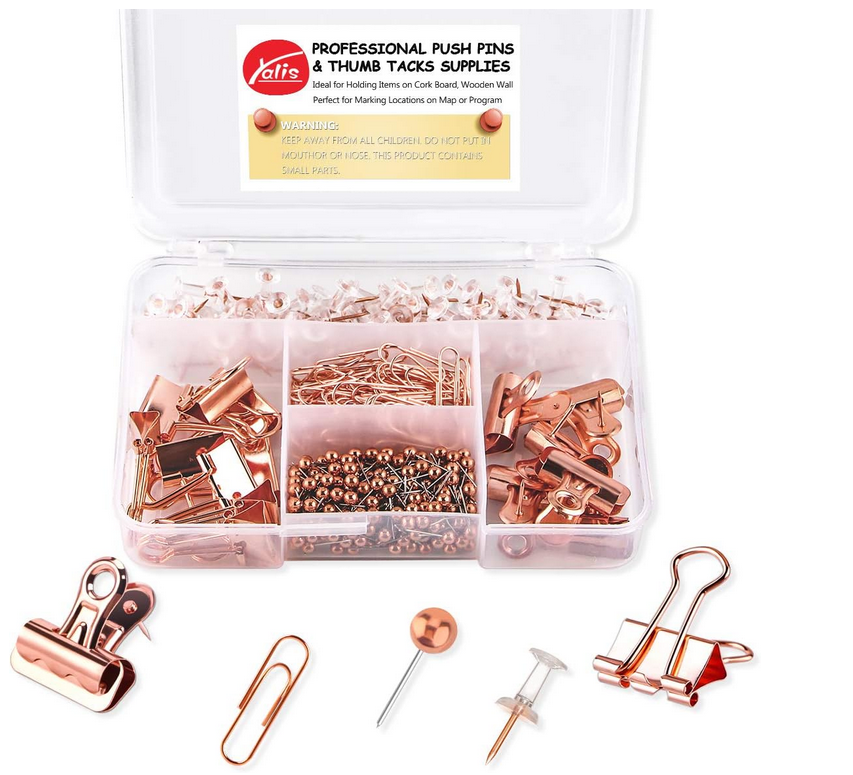

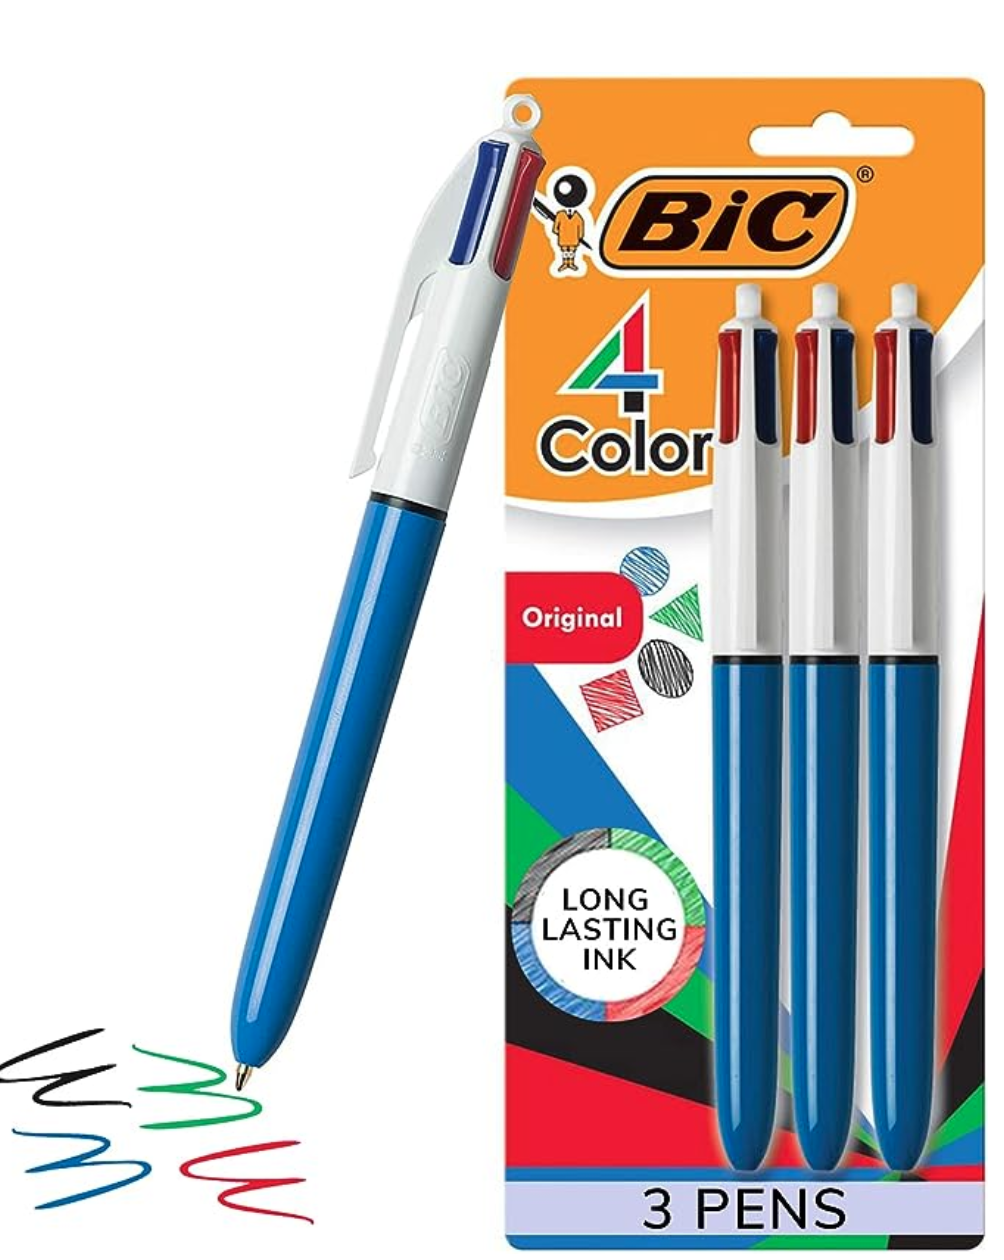
That wraps up Part IV! I hope this series has been helpful to you and if you have any questions, feel free to DM me on Instagram or write me an email!

When I link to products, some of those links may be affiliate links. If you click on any of those links and make a purchase within a certain amount of time, I’ll earn a small commission – this commission is paid by the retailer to me at NO cost to you. As an Amazon Associate, I earn from qualifying purchases.
Practical Things I Used During Residency!
Getting Ready for Residency Part I: What to Do Before Starting
Getting Ready for Residency Part II: Orientation Month
Getting Ready for Residency Part III: Tips for Rotations as a Pharmacy Resident
